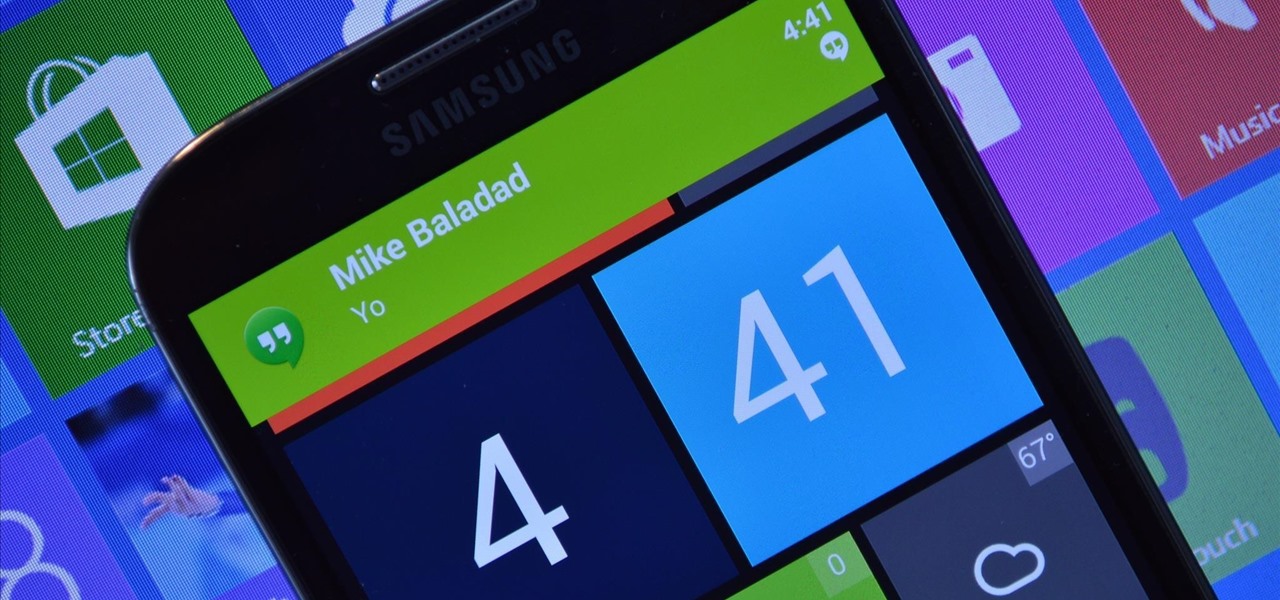

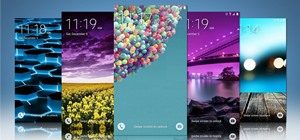
Windows 8's interface was met with criticism when it was released, mainly directed at the tiled Start screen, a departure from Windows versions of old. Many felt that this new home screen style was better suited for mobile devices like Microsoft's Surface tablets and Windows Phones.
This colorful aesthetic does lend itself well to handheld devices, and in this softModder tutorial we'll be freshening up our Samsung Galaxy S4's notifications with Windows Phone-style banners. Normally your text and email previews are crammed into the skinny status bar, devoid of color, but we can make those notifications more eye-pleasing with a simple app.
Step 1: Install "Metro Notifications"
To get these colorful Windows-style notifications, we'll be using Metro Notifications Free, available on Google Play. Though Microsoft no longer uses the "Metro" term, it's still heavily used informally to describe the general feel of the design language for Windows 8.
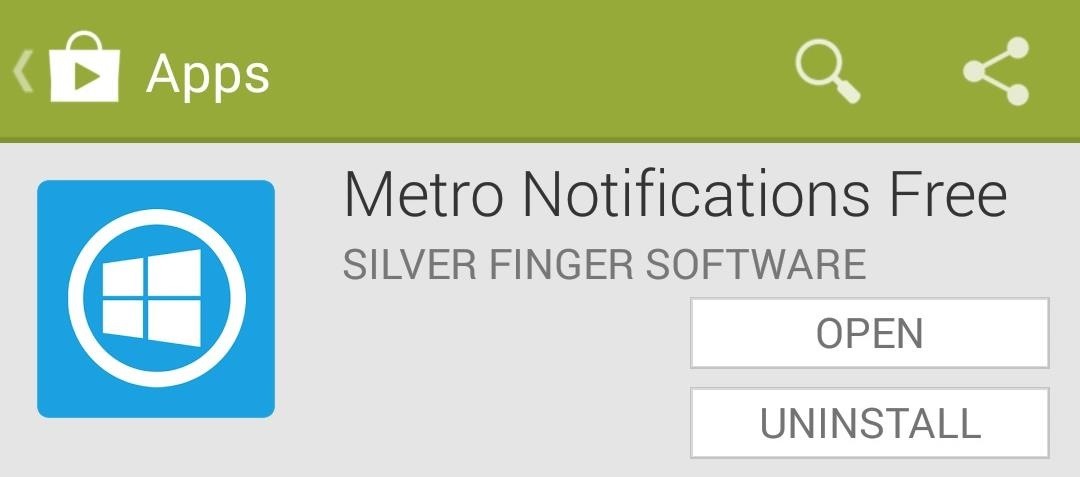
This app was created by Silver Finger Software, who also brought us an iOS-style lock screen notification system.
Step 2: Enable Notification Access
In order for Metro Notifications to present your texts, emails, and other notifications in Windows-style banners, you'll need to grant it access. Upon your first time opening the app, a popup will appear asking you for permission. Tap on the Enable now button, which will take you directly to your GS4's Notification access settings.
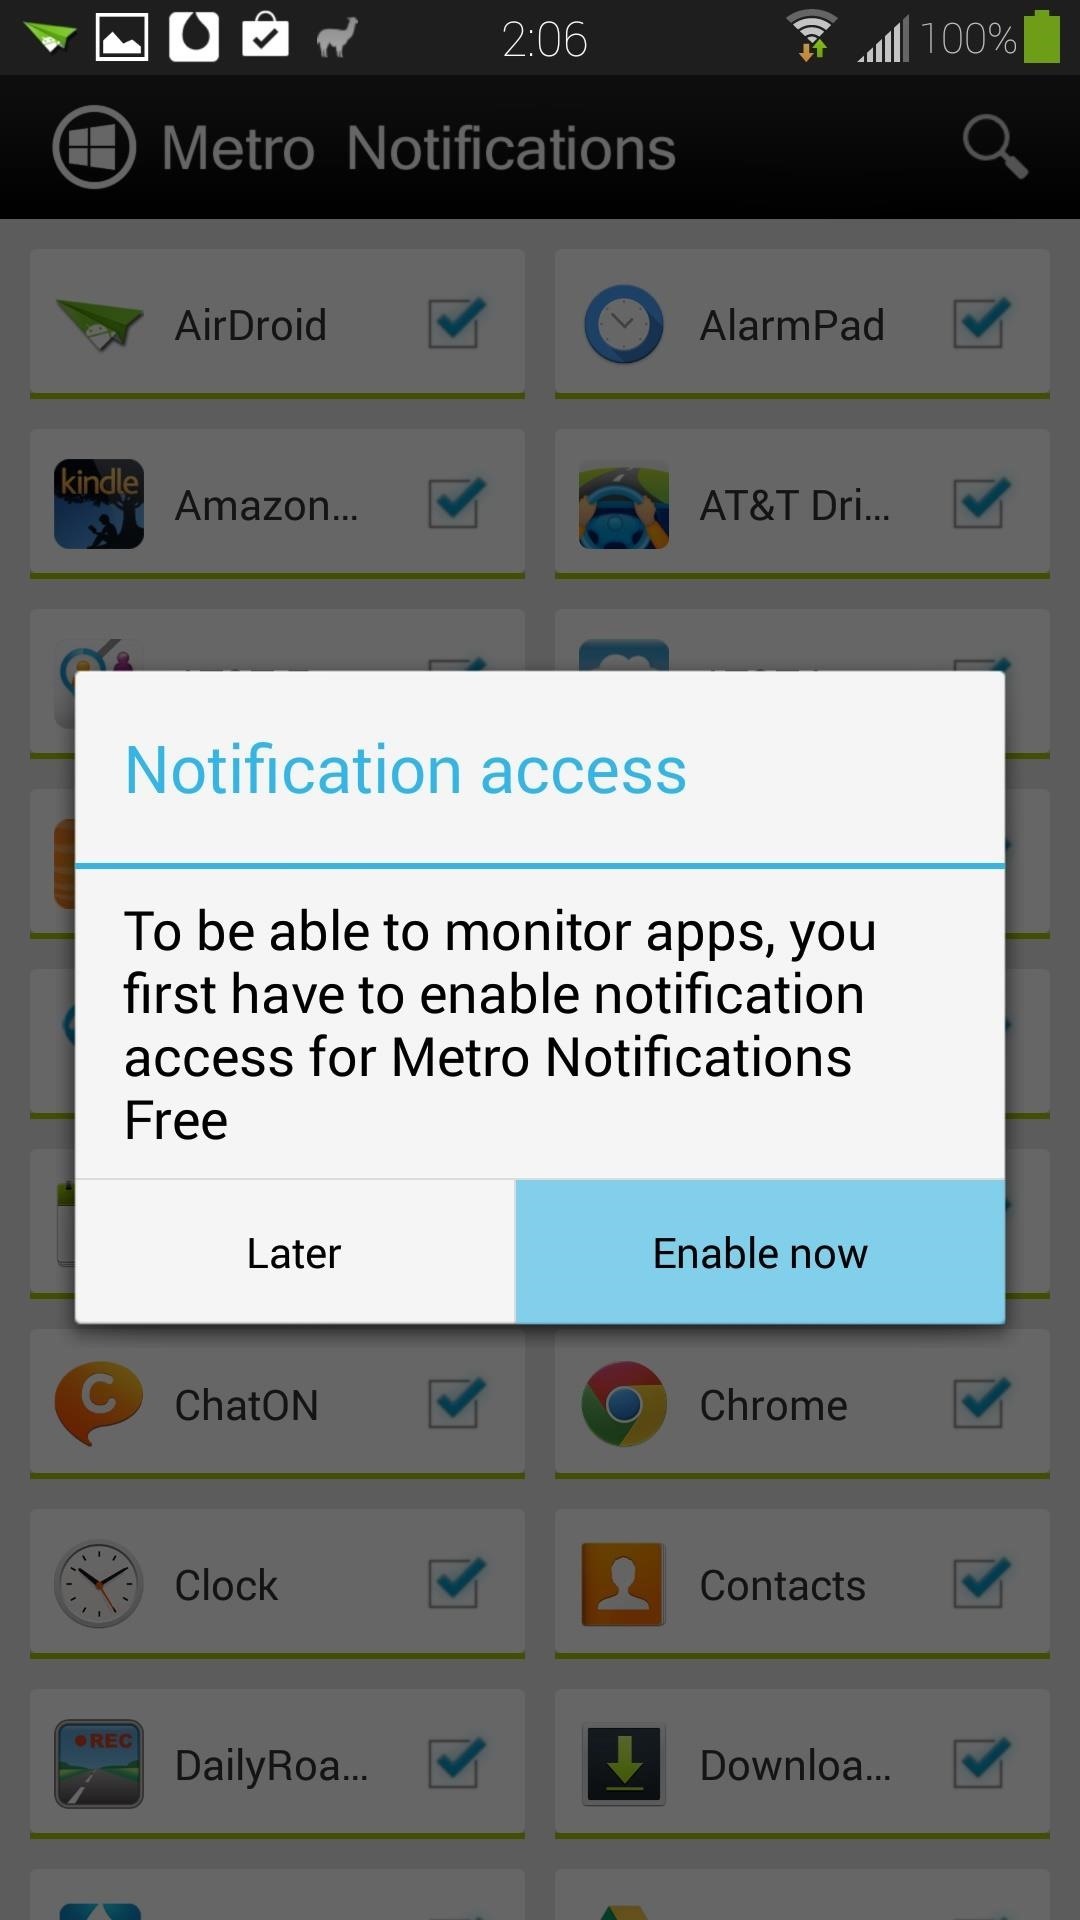

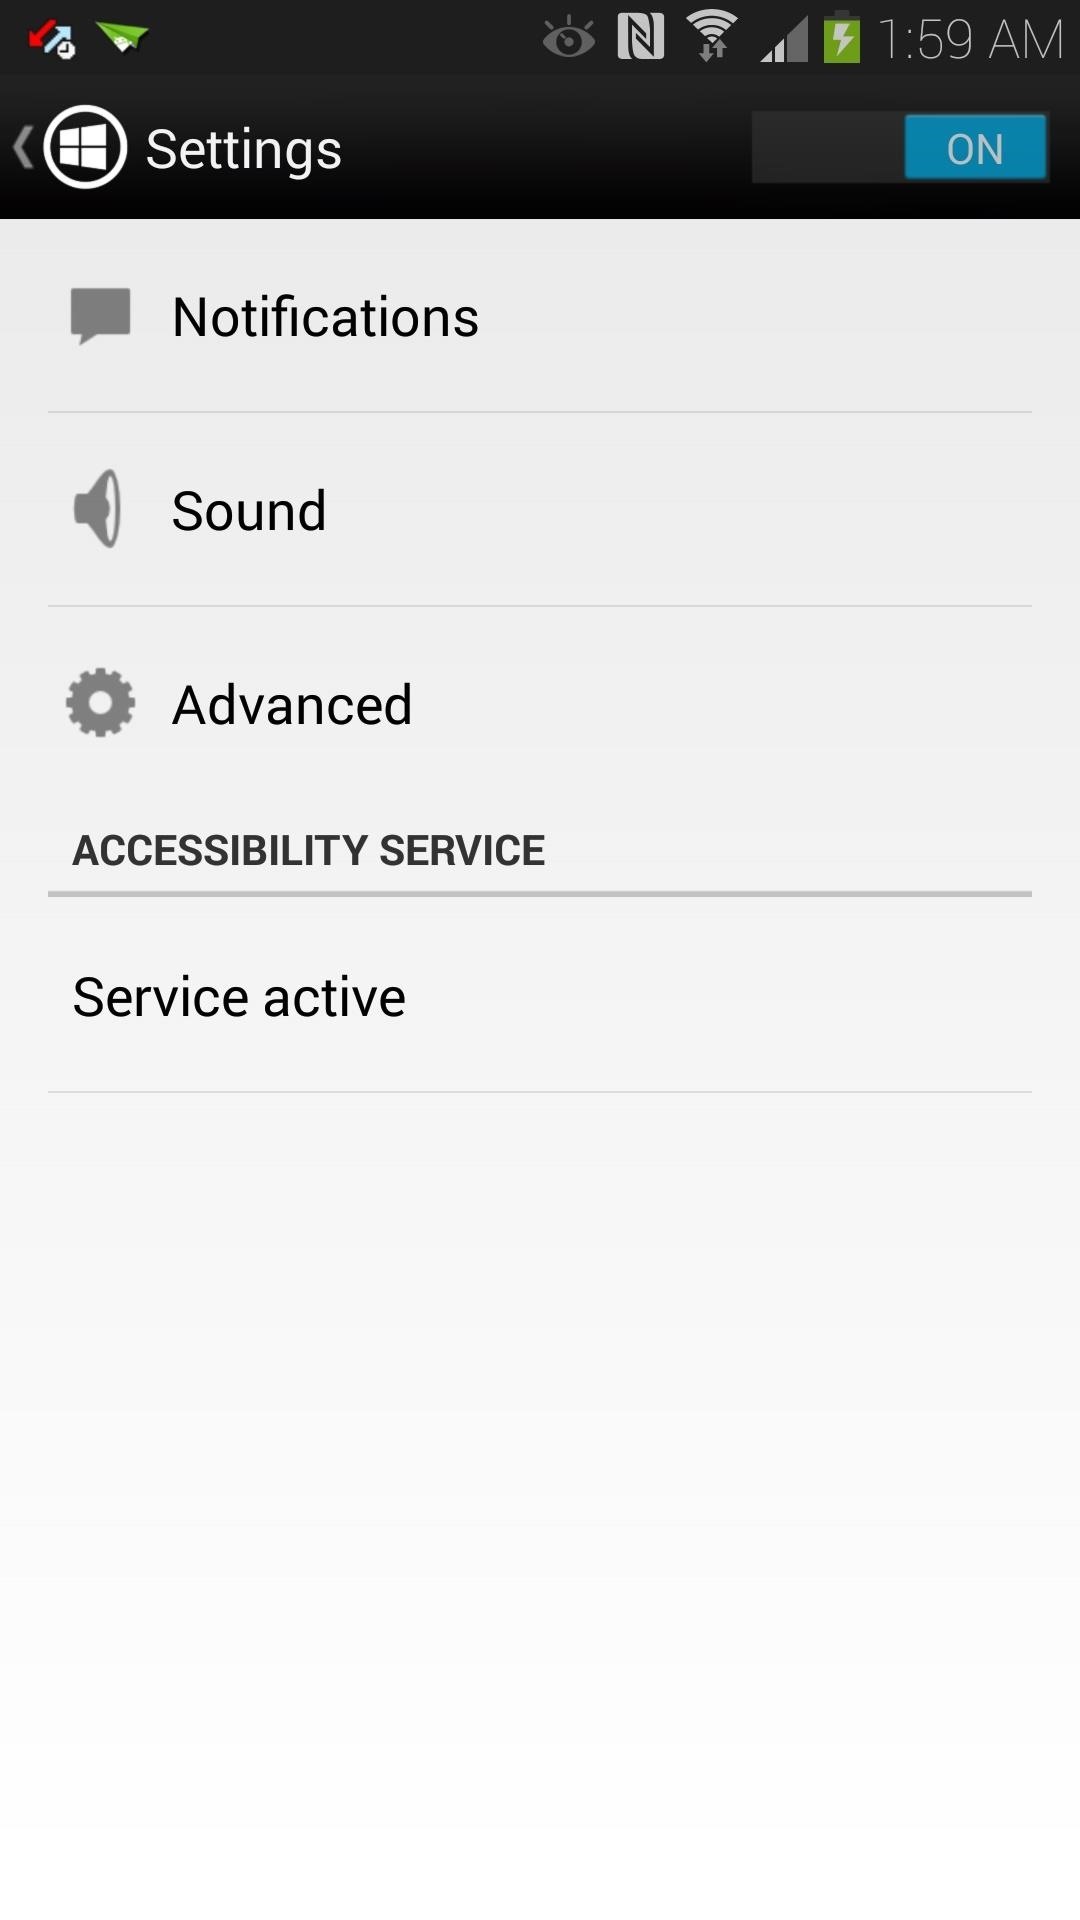
Note: If your GS4 isn't running Android 4.3 or higher, you instead might be asked to enable Metro Notifications as an Accessibility Service.
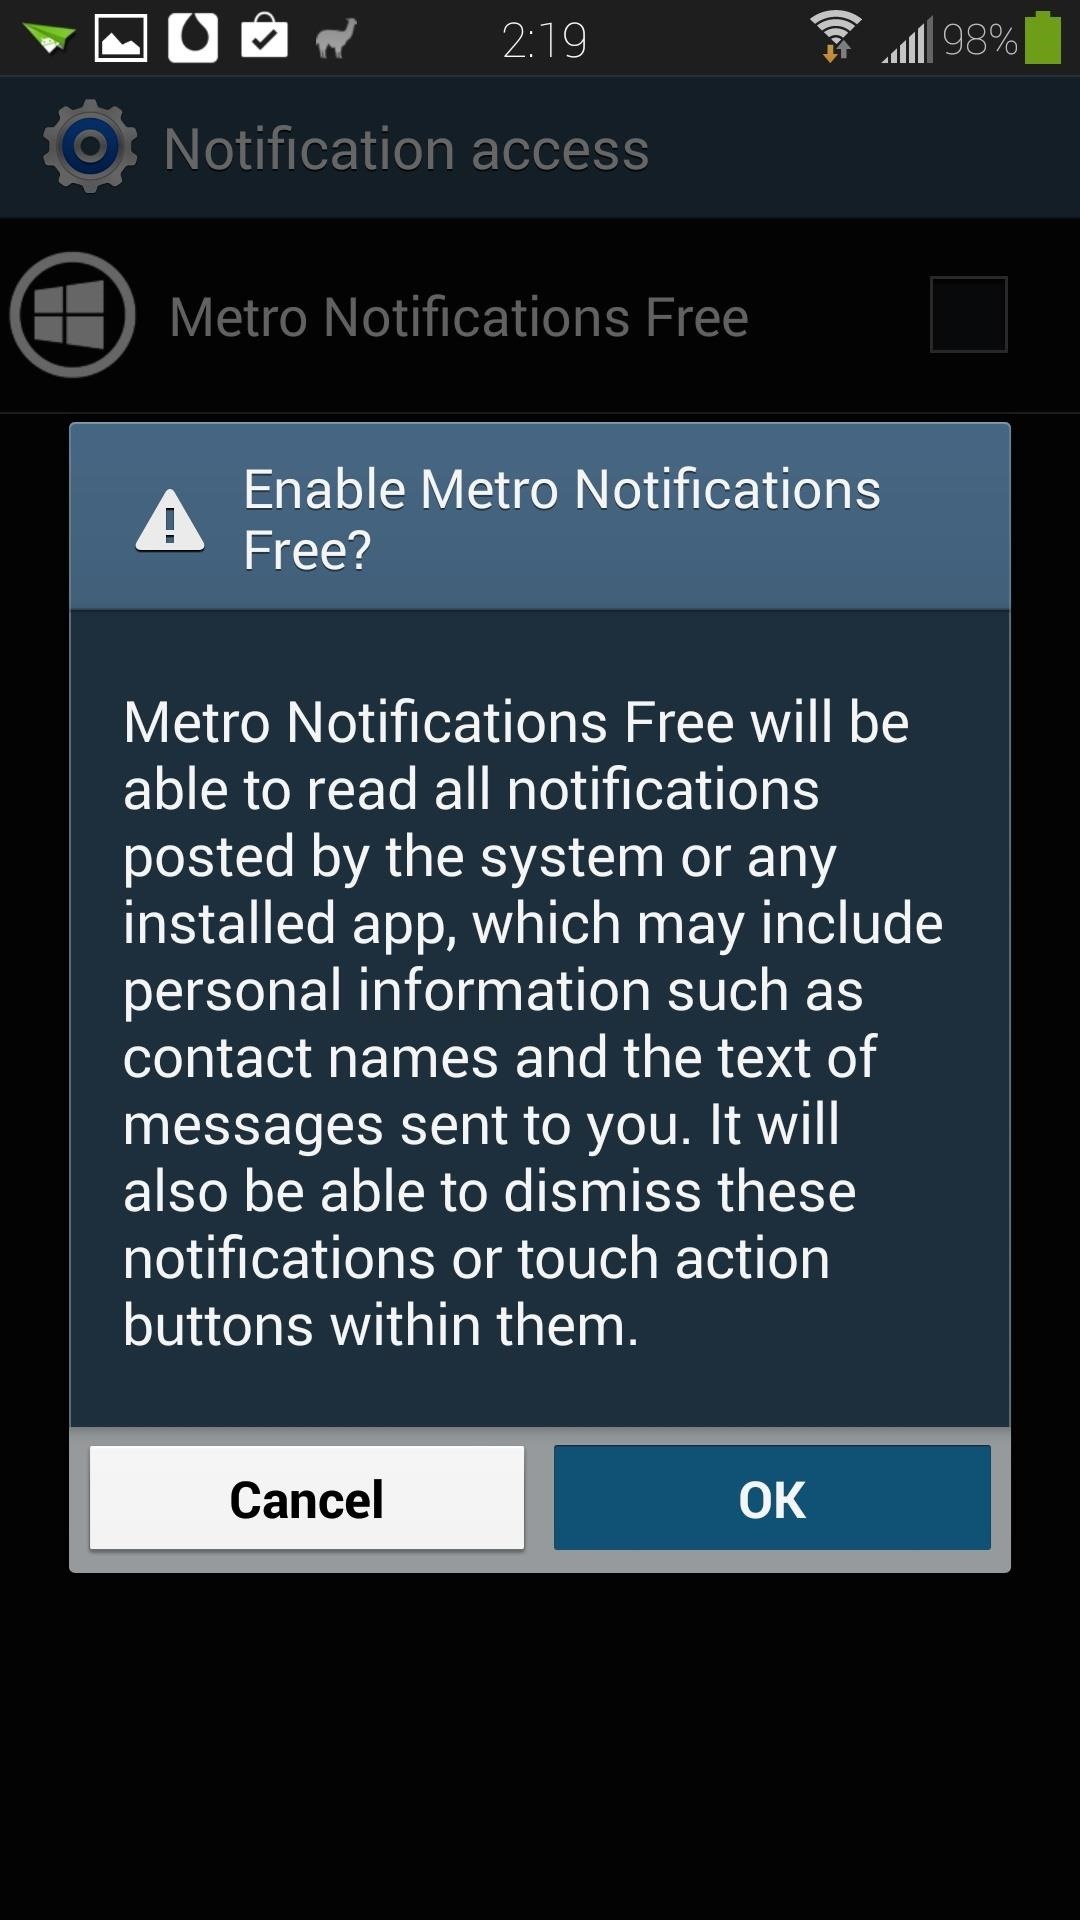
Check the box next to Metro Notifications Free, and press OK at the next popup. This warning just tells you that Metro Notifications will be able to read and dismiss your notifications, which are permissions that it needs in order to operate.
Step 3: Set Up Metro Notifications
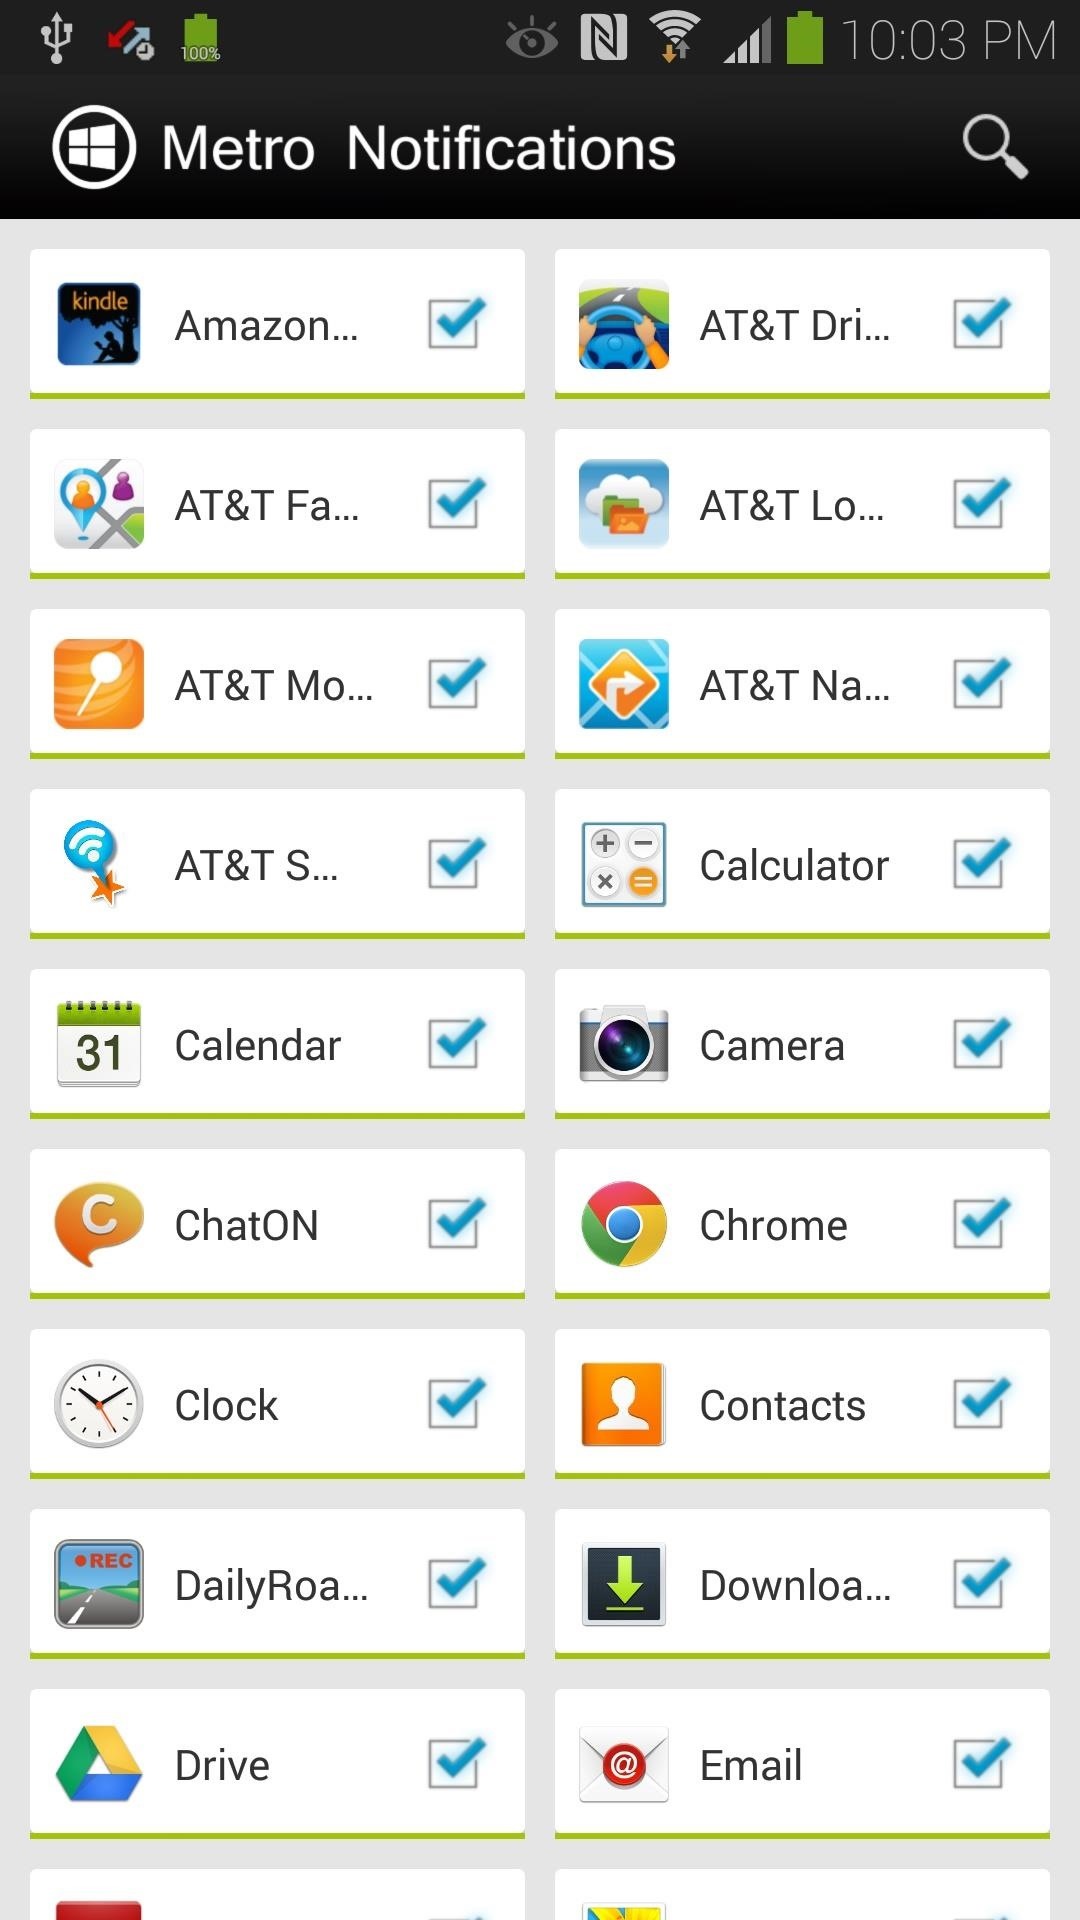
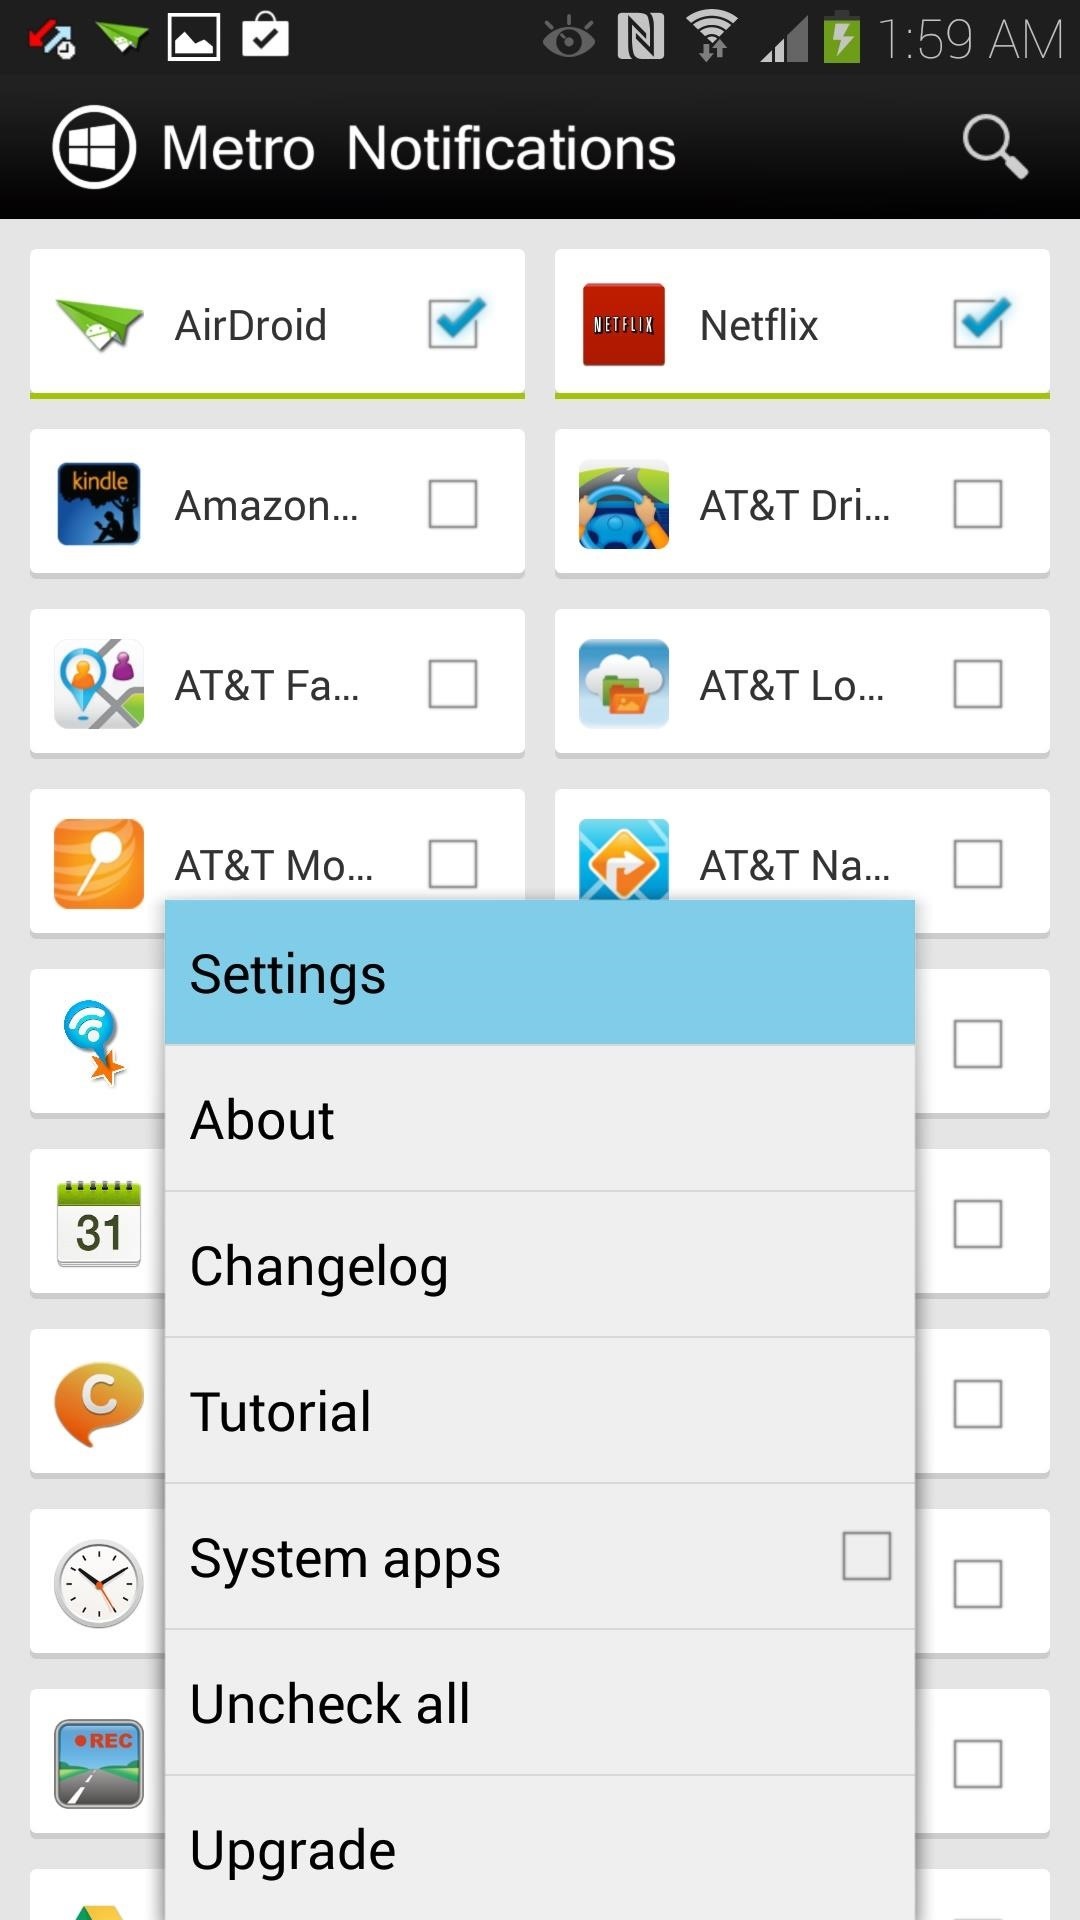
Once you're done giving it notification (or accessibility) access, you can head back to the app and play around with some settings. The main page is a list of all of your apps, and you can check their respective boxes to select whether or not you want notifications from those apps. Hit your GS4's menu button to get to the settings.
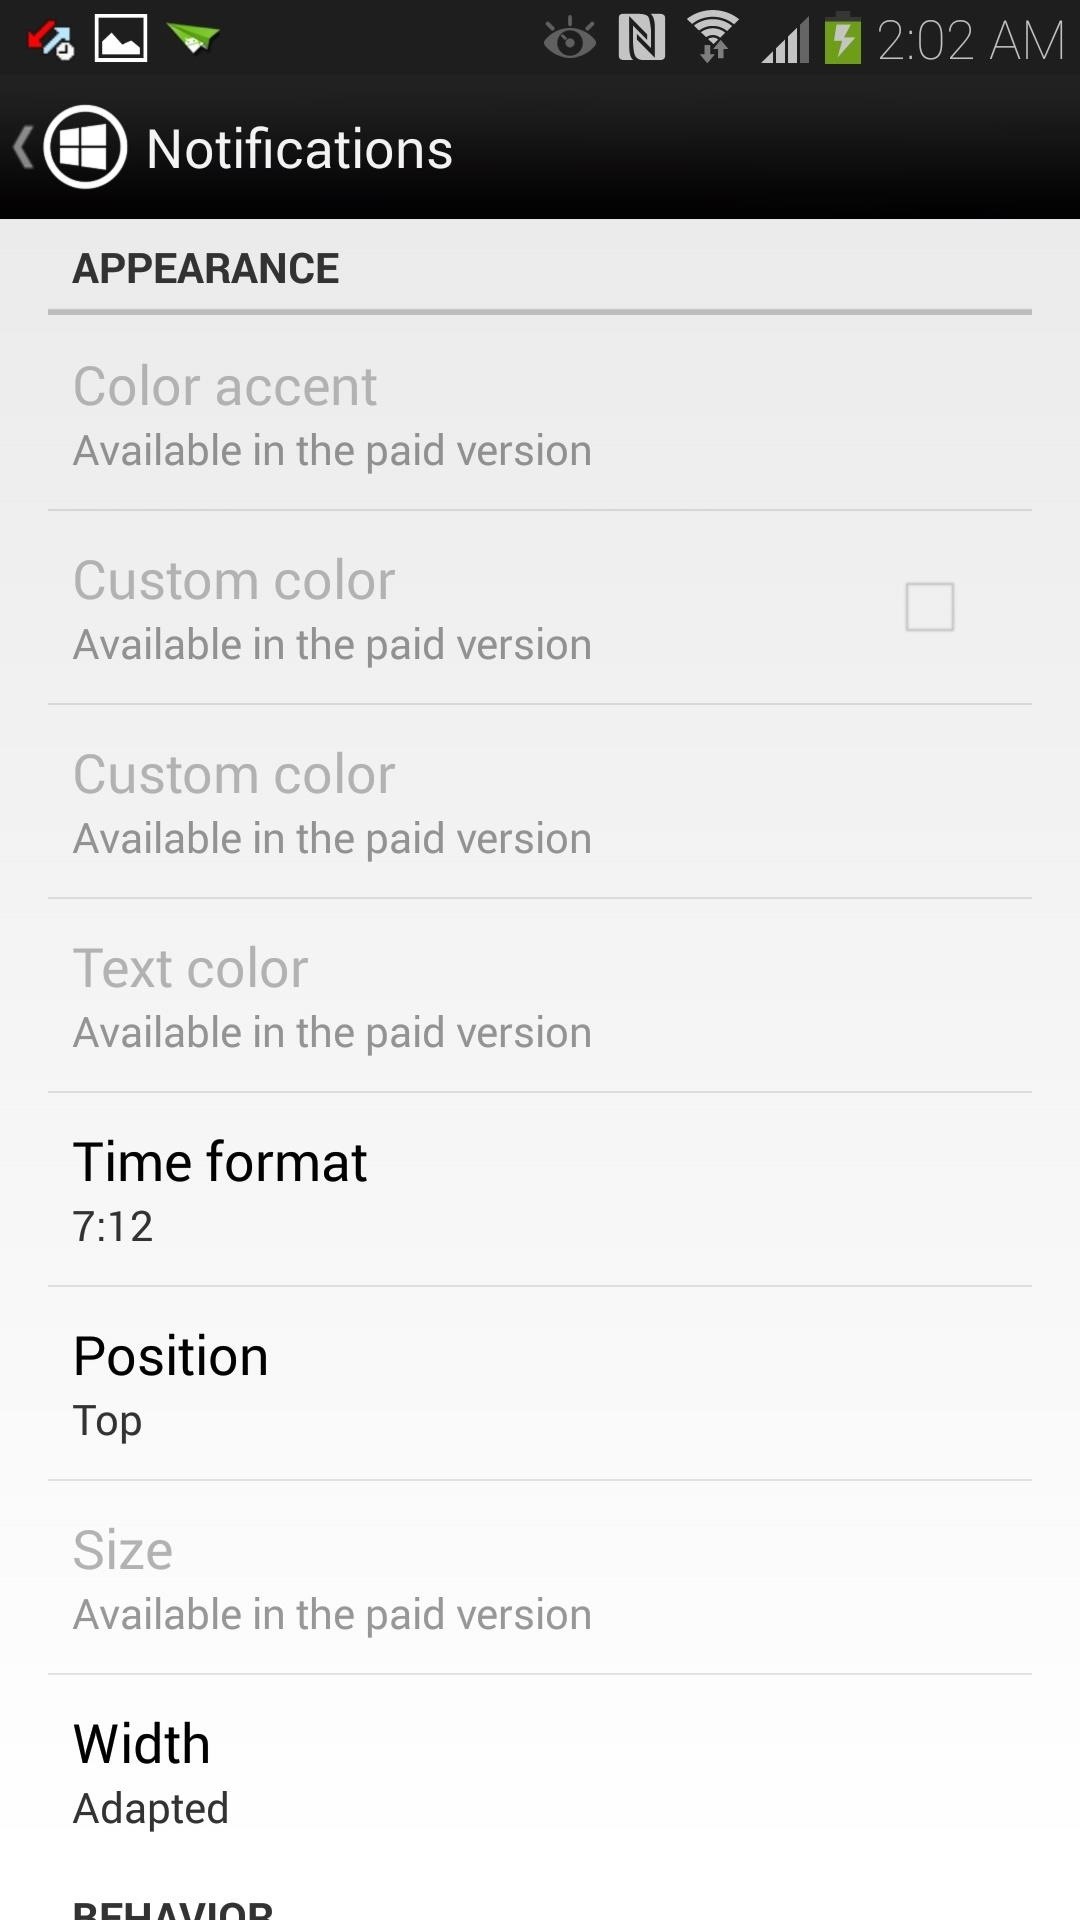
Most of the major settings to edit would be in the Notifications section, where you can switch up the way notifications appear and behave.
You'll notice that some of the features are greyed out; these are available with the pro upgrade. With the free version you can still customize settings like the positioning of the banner (top, center, or bottom) and whether or not the screen will wake upon receiving a notification.
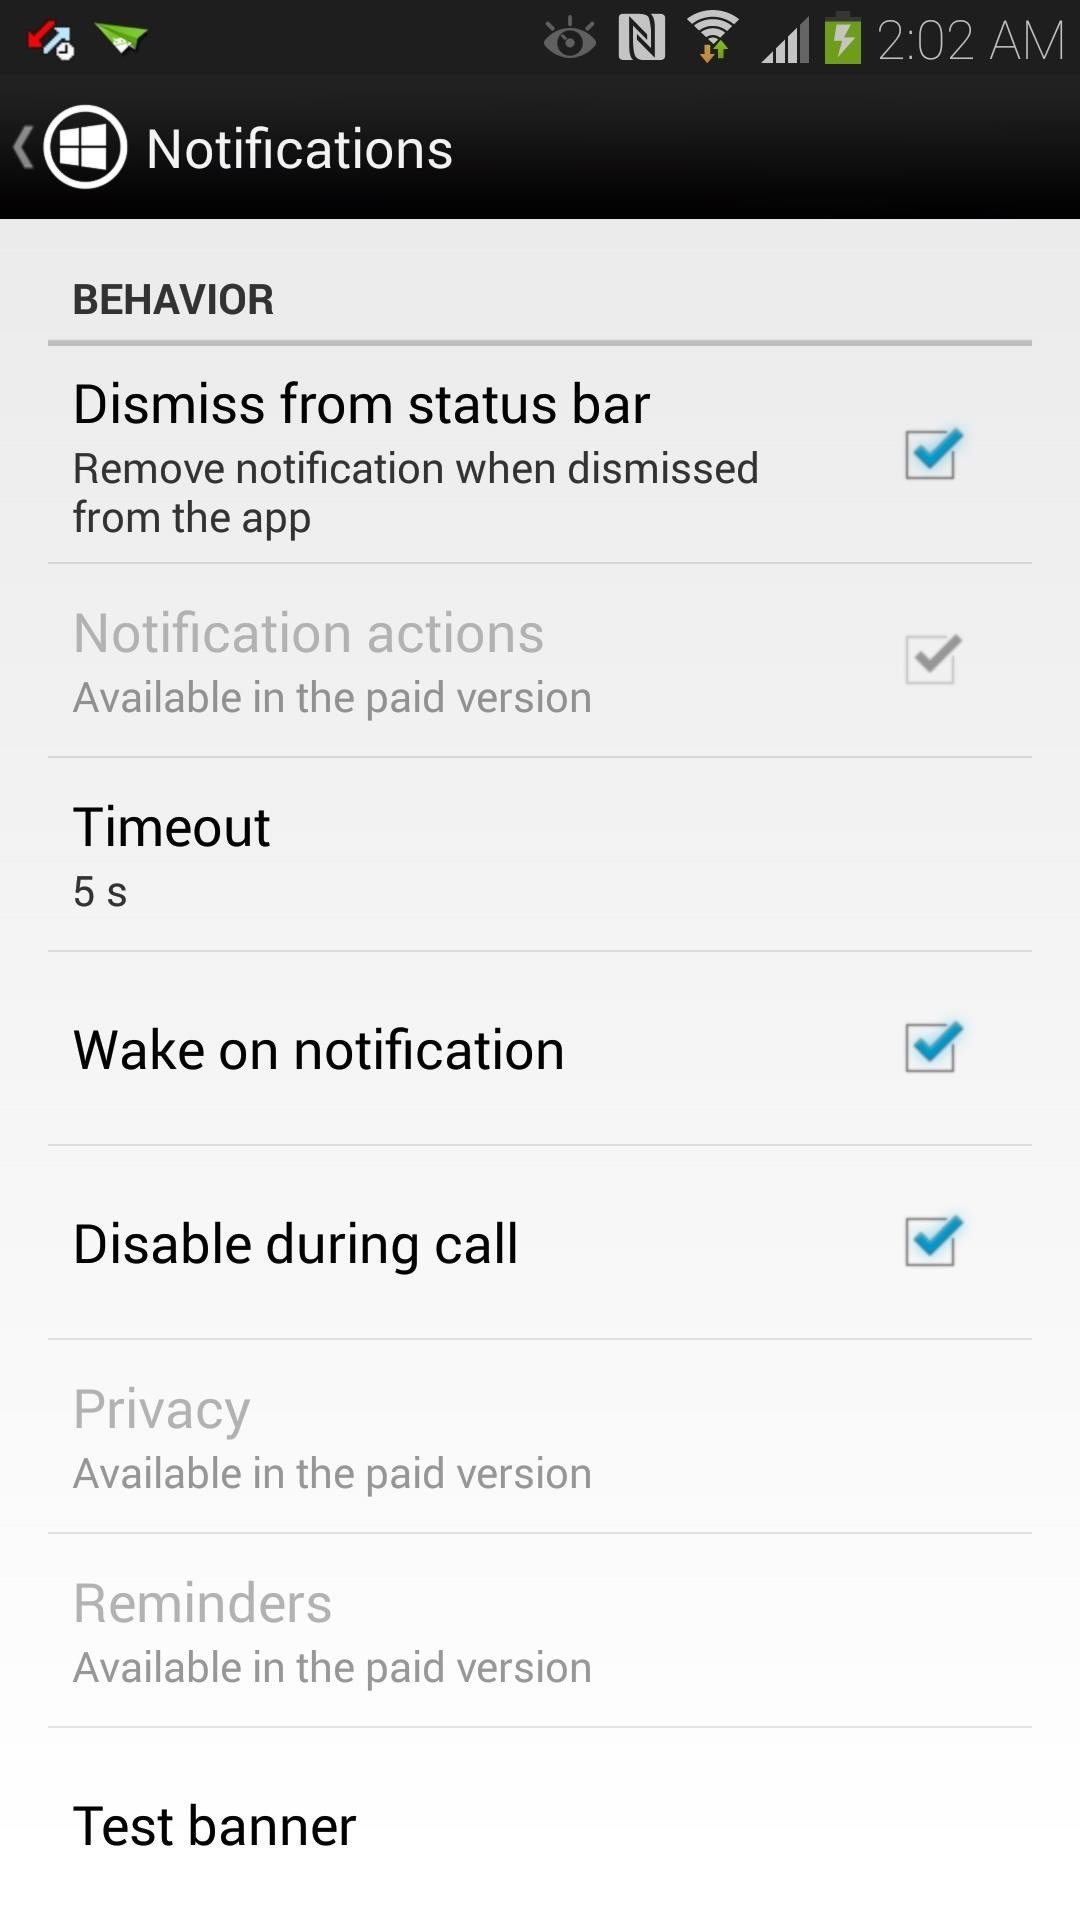
Once you've finished customizing your settings, you can select Test banner and the app will give you a demo banner tailored to your specifications.
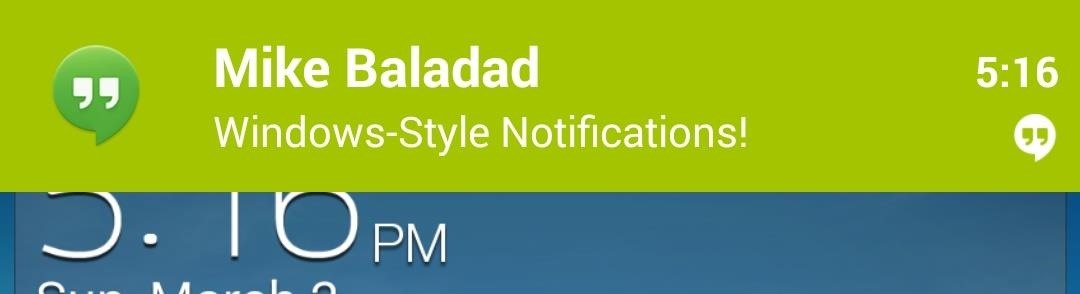
You can swipe the banner to the side to dismiss the notification, or tap on it to launch its app.
Like Metro Notifications? Upgrade!
For full-fledged customization, you can upgrade to the full version, available as an in-app purchase. You unlock all of those features that were greyed out, including the ability to change the color of the notification banner for individual apps (with the free version, green is the only color available).
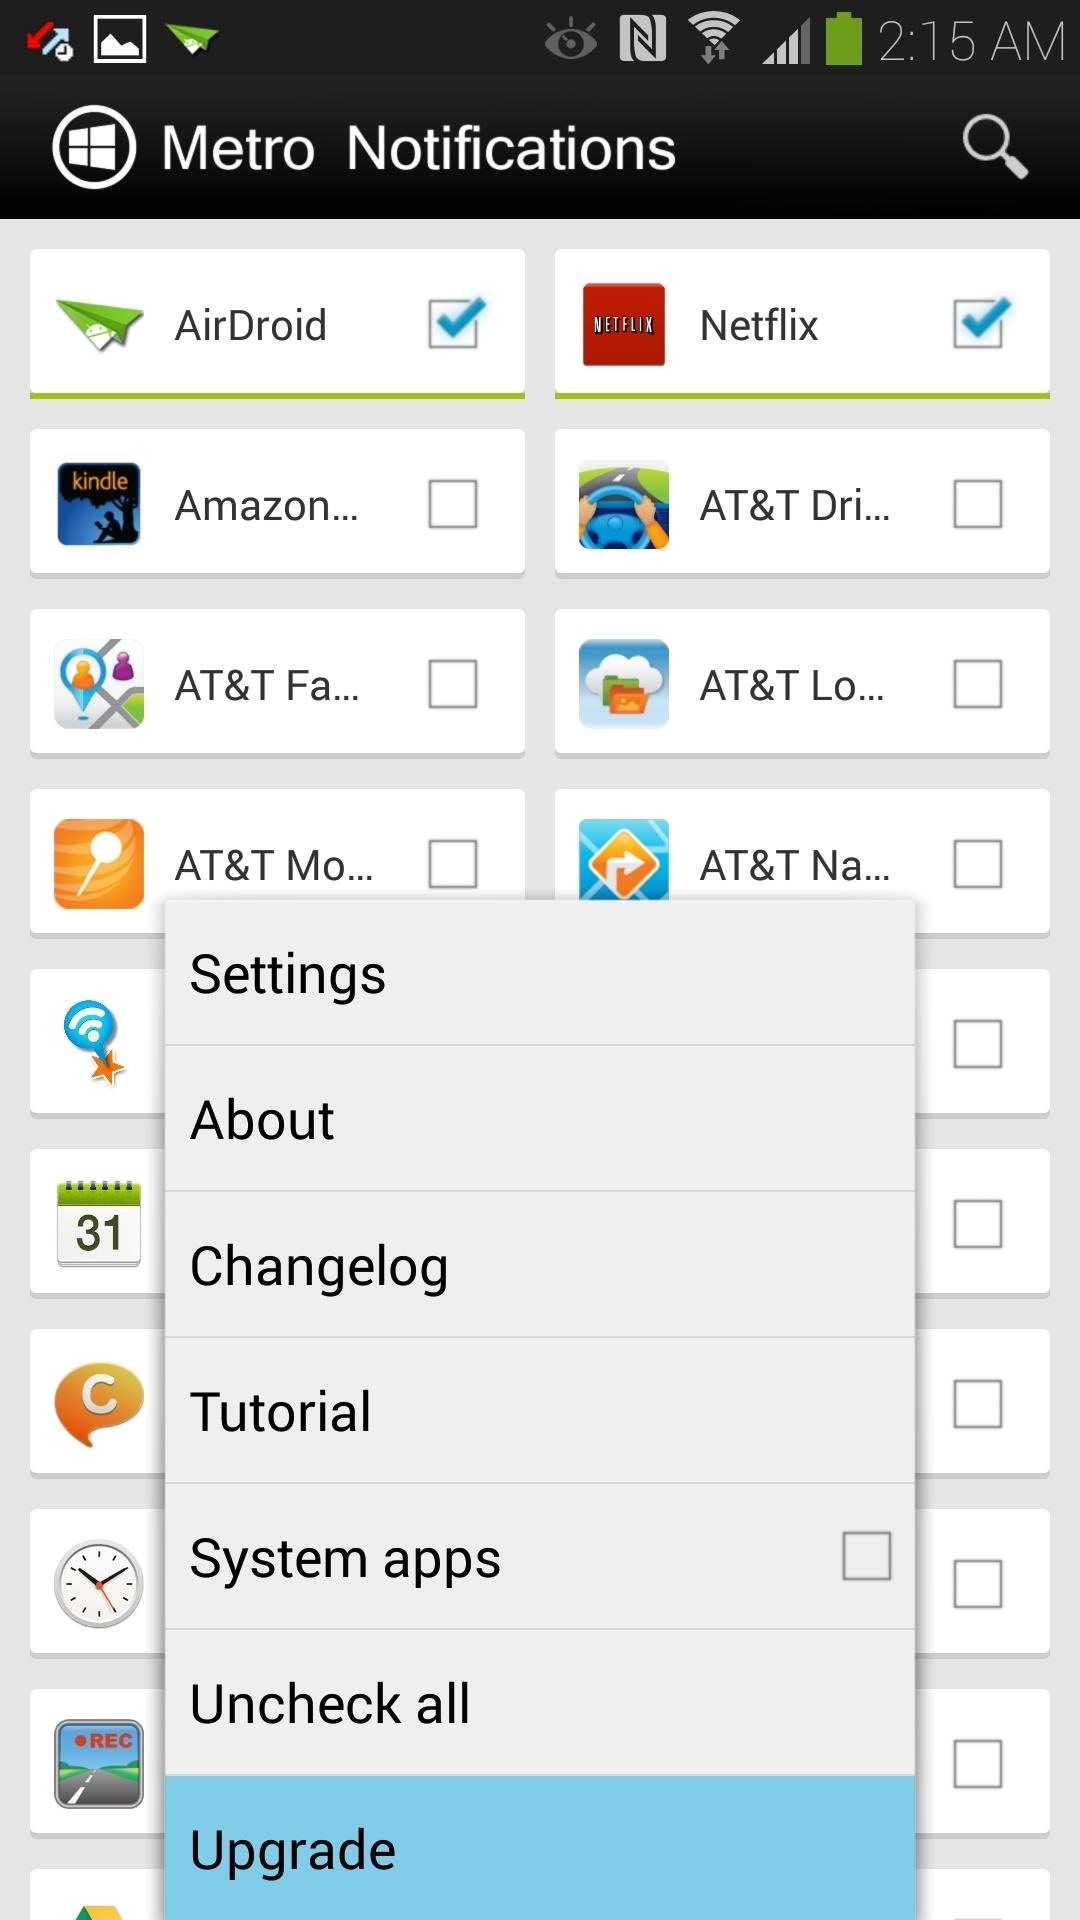
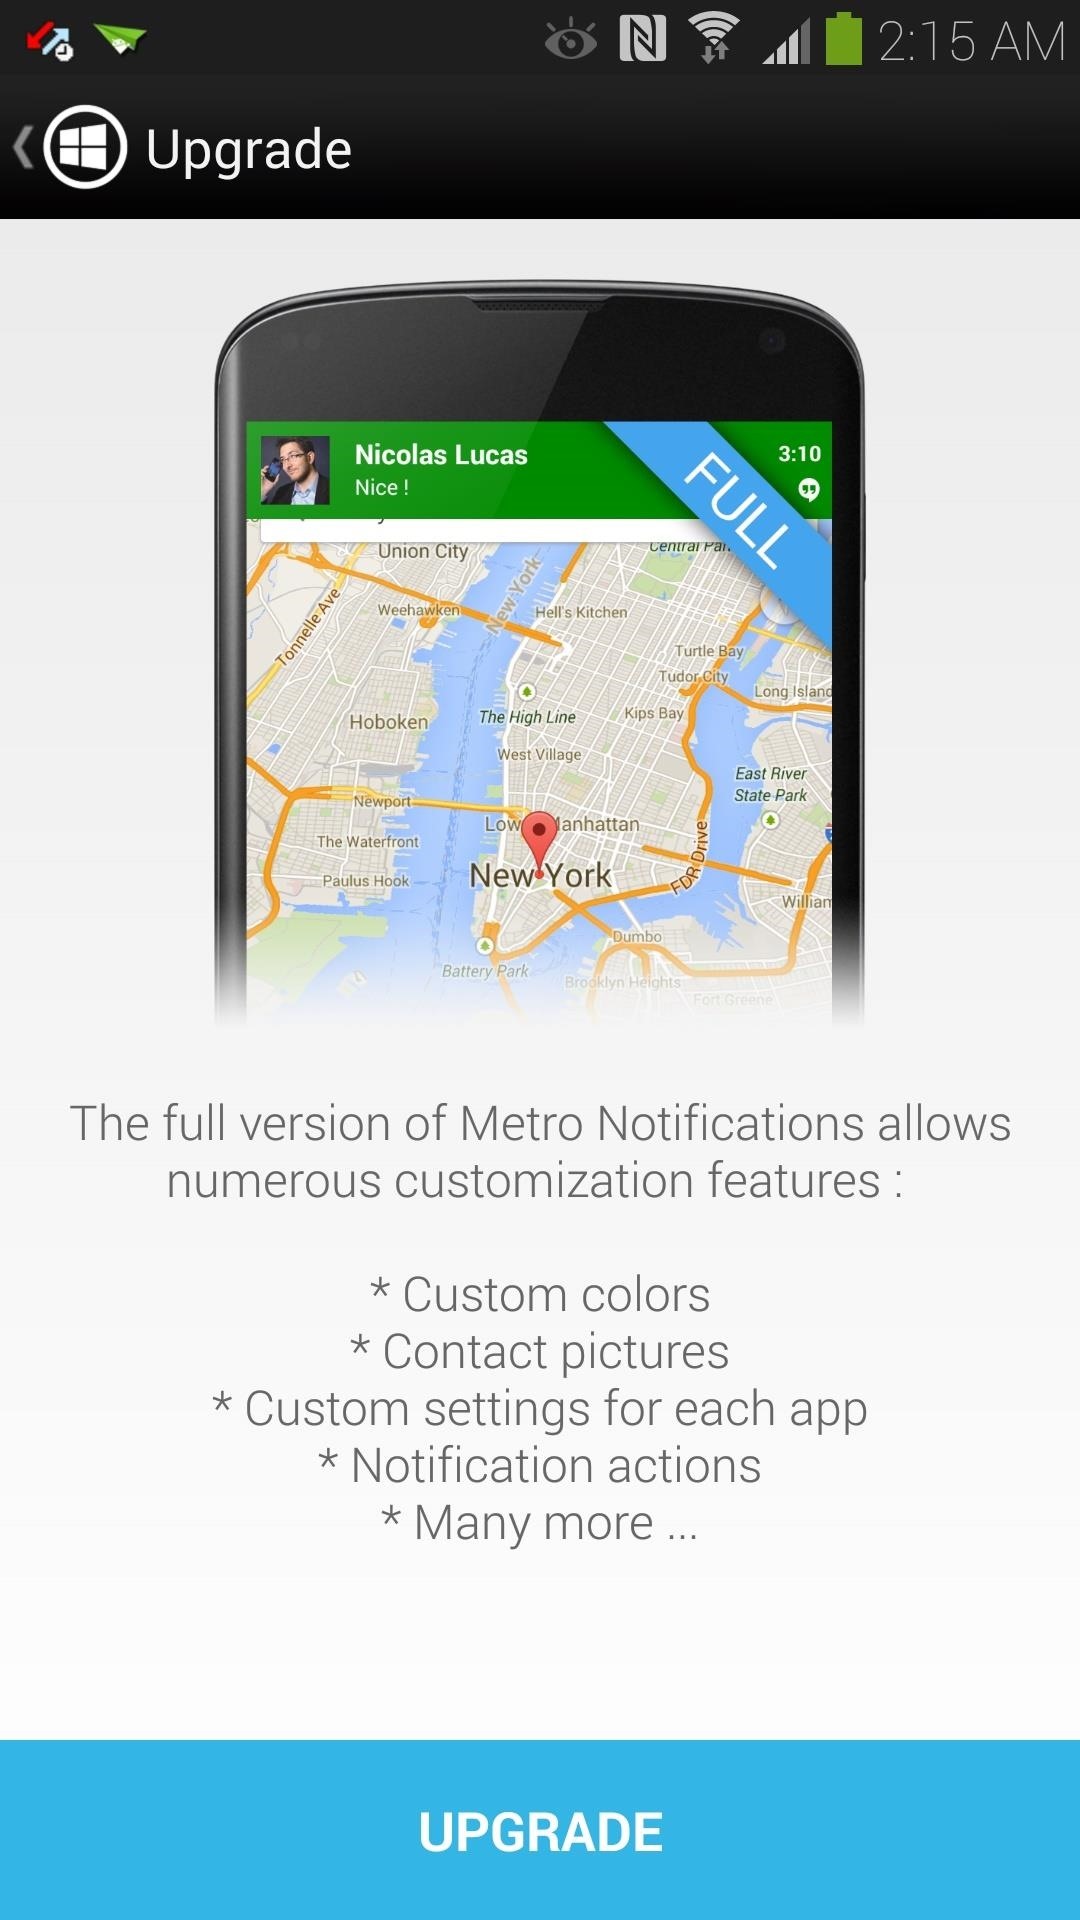
Hit your GS4's menu button from the main page, then select Upgrade at the bottom (you can also find it on Google Play). It's under three bucks to unlock everything, and doing so helps support the developers' efforts to update this app and create other awesome ones.
Which notification banners do you like better? Windows, iOS, or the stock Android notifications? Let us know in the comments.
Just updated your iPhone? You'll find new emoji, enhanced security, podcast transcripts, Apple Cash virtual numbers, and other useful features. There are even new additions hidden within Safari. Find out what's new and changed on your iPhone with the iOS 17.4 update.


Be the First to Comment
Share Your Thoughts