
According to a new study, the majority of smartphone users check their devices 150 times a day. While that number may seem incredibly high at first glance, the influx of notifications and amount of social media apps available reduce the initial shock and make the number seem not so preposterous after all.

Yeah, even on a date.
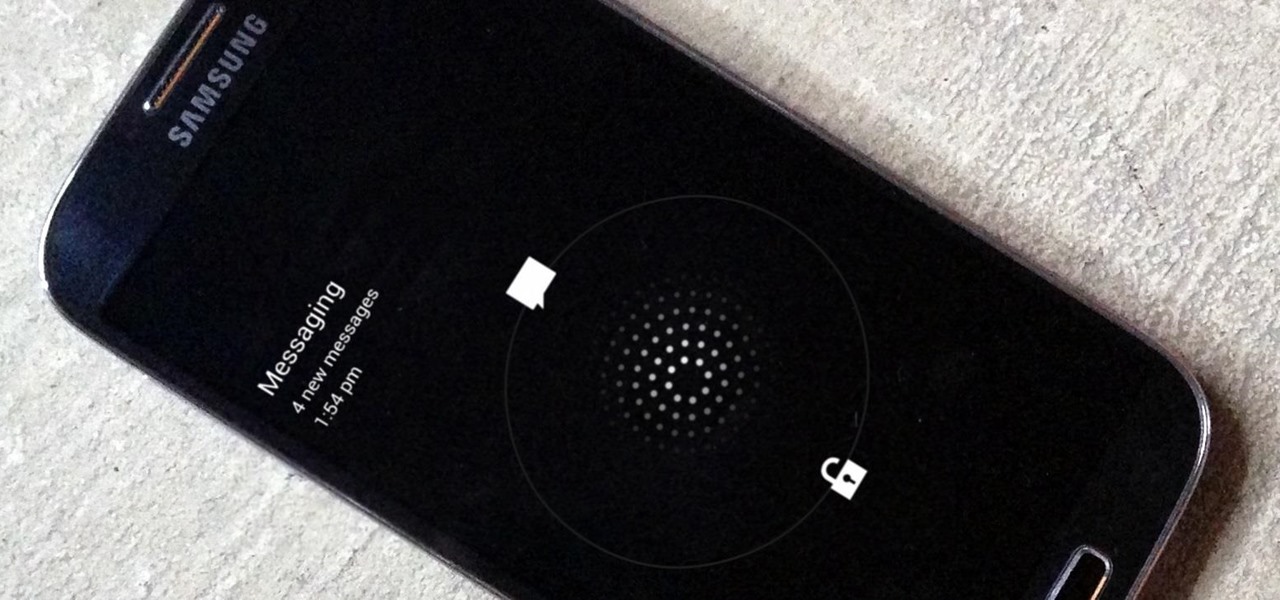
Checking your device that many times in a day can punish your device, depleting your battery at a staggering rate. This is one issue that Motorola addresses in their soon-to-be-released flagship Moto X. Using the AMOLED screen, the Moto X's Active Display works above the lock screen and awakens only a small portion of the pixels in order to show notifications.
Wouldn't it be nice to save battery power and get this on other AMOLED devices like the Samsung Galaxy S4, too? Well, in this softModder guide, I'm going to show you how you can.
Step 1: Install an Active Display Clone
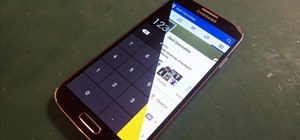
With the free ActiveNotifications by Great Bytes Software, you'll get a worthy emulation of Active Display, which allows you to receive notifications while keeping your screen off. When you receive a notification on your GS4, the display will quietly light up and the LED will flash, showing you what you need to see without having to unlock the device.
Compatibility Note
ActiveNotifications was only compatible with Android 4.3, but now works (experimentally) with 4.1.2 and above, so results may vary.
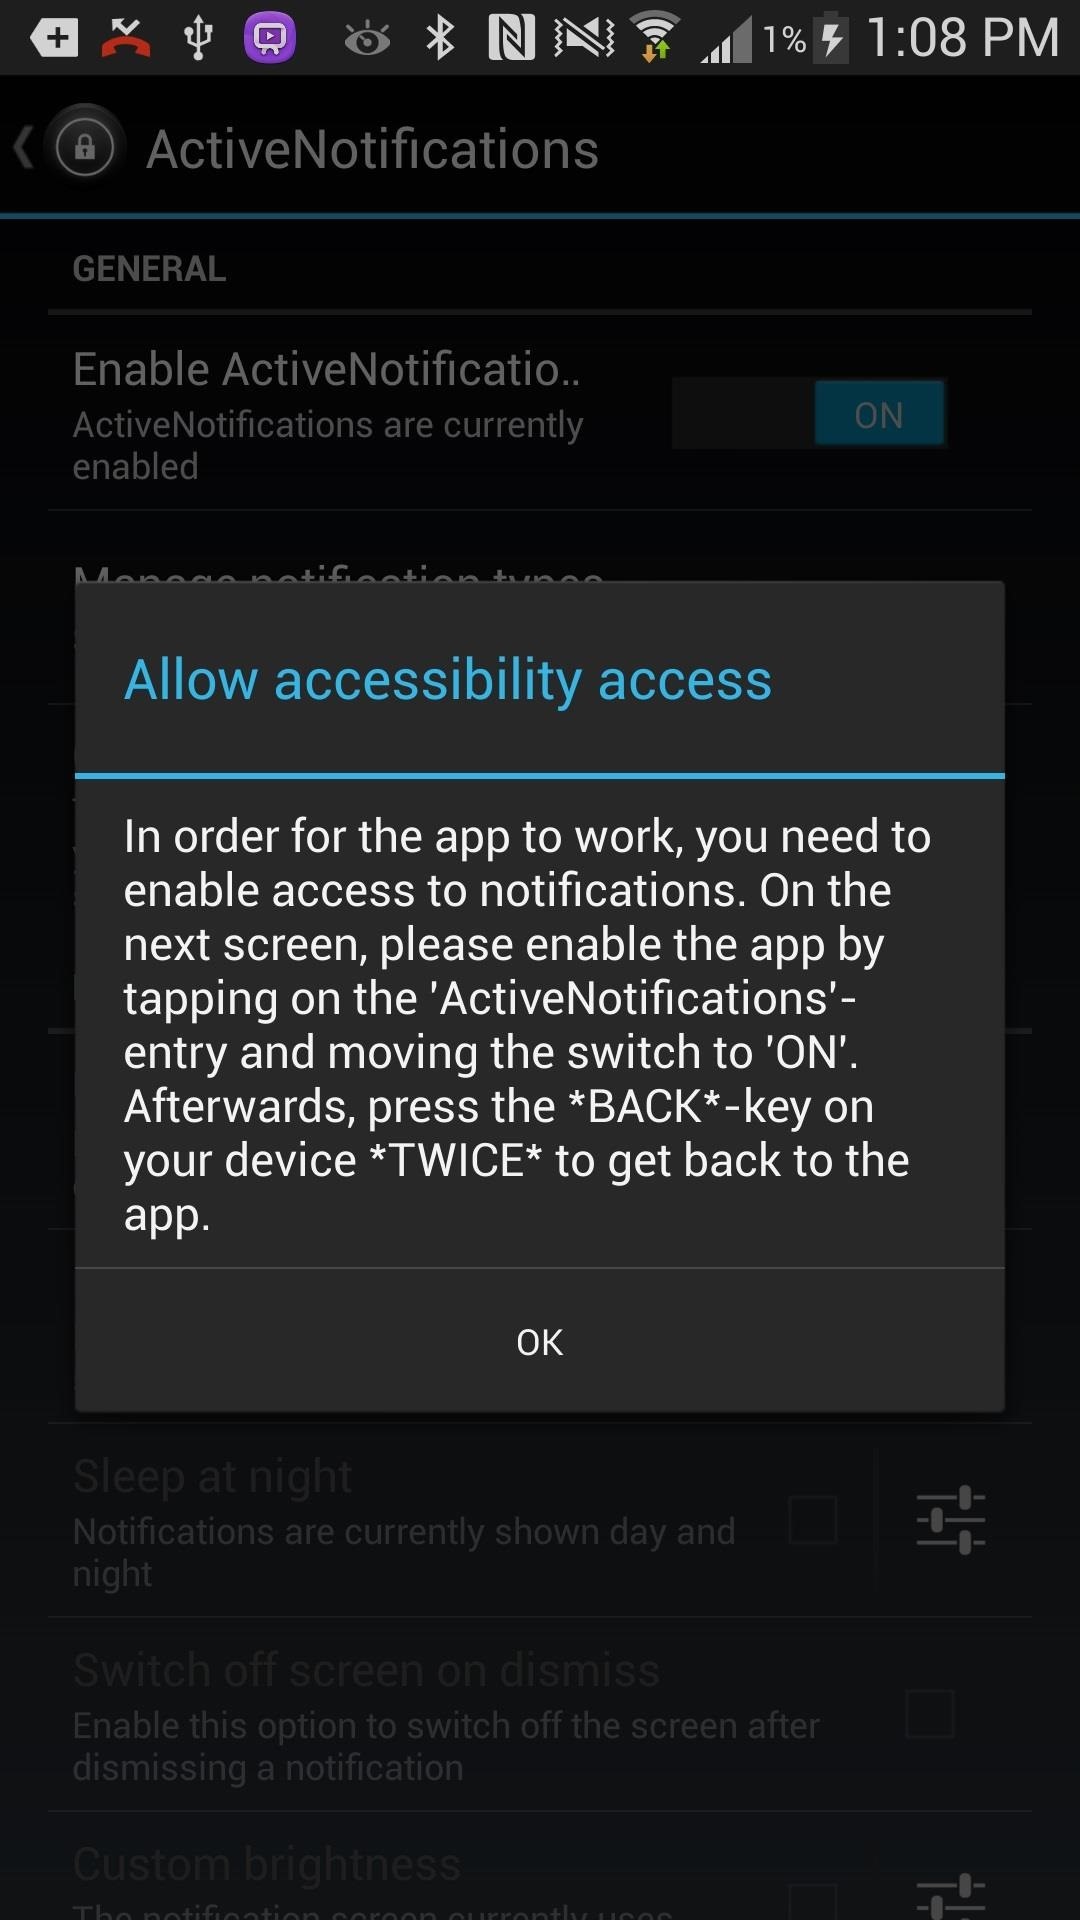
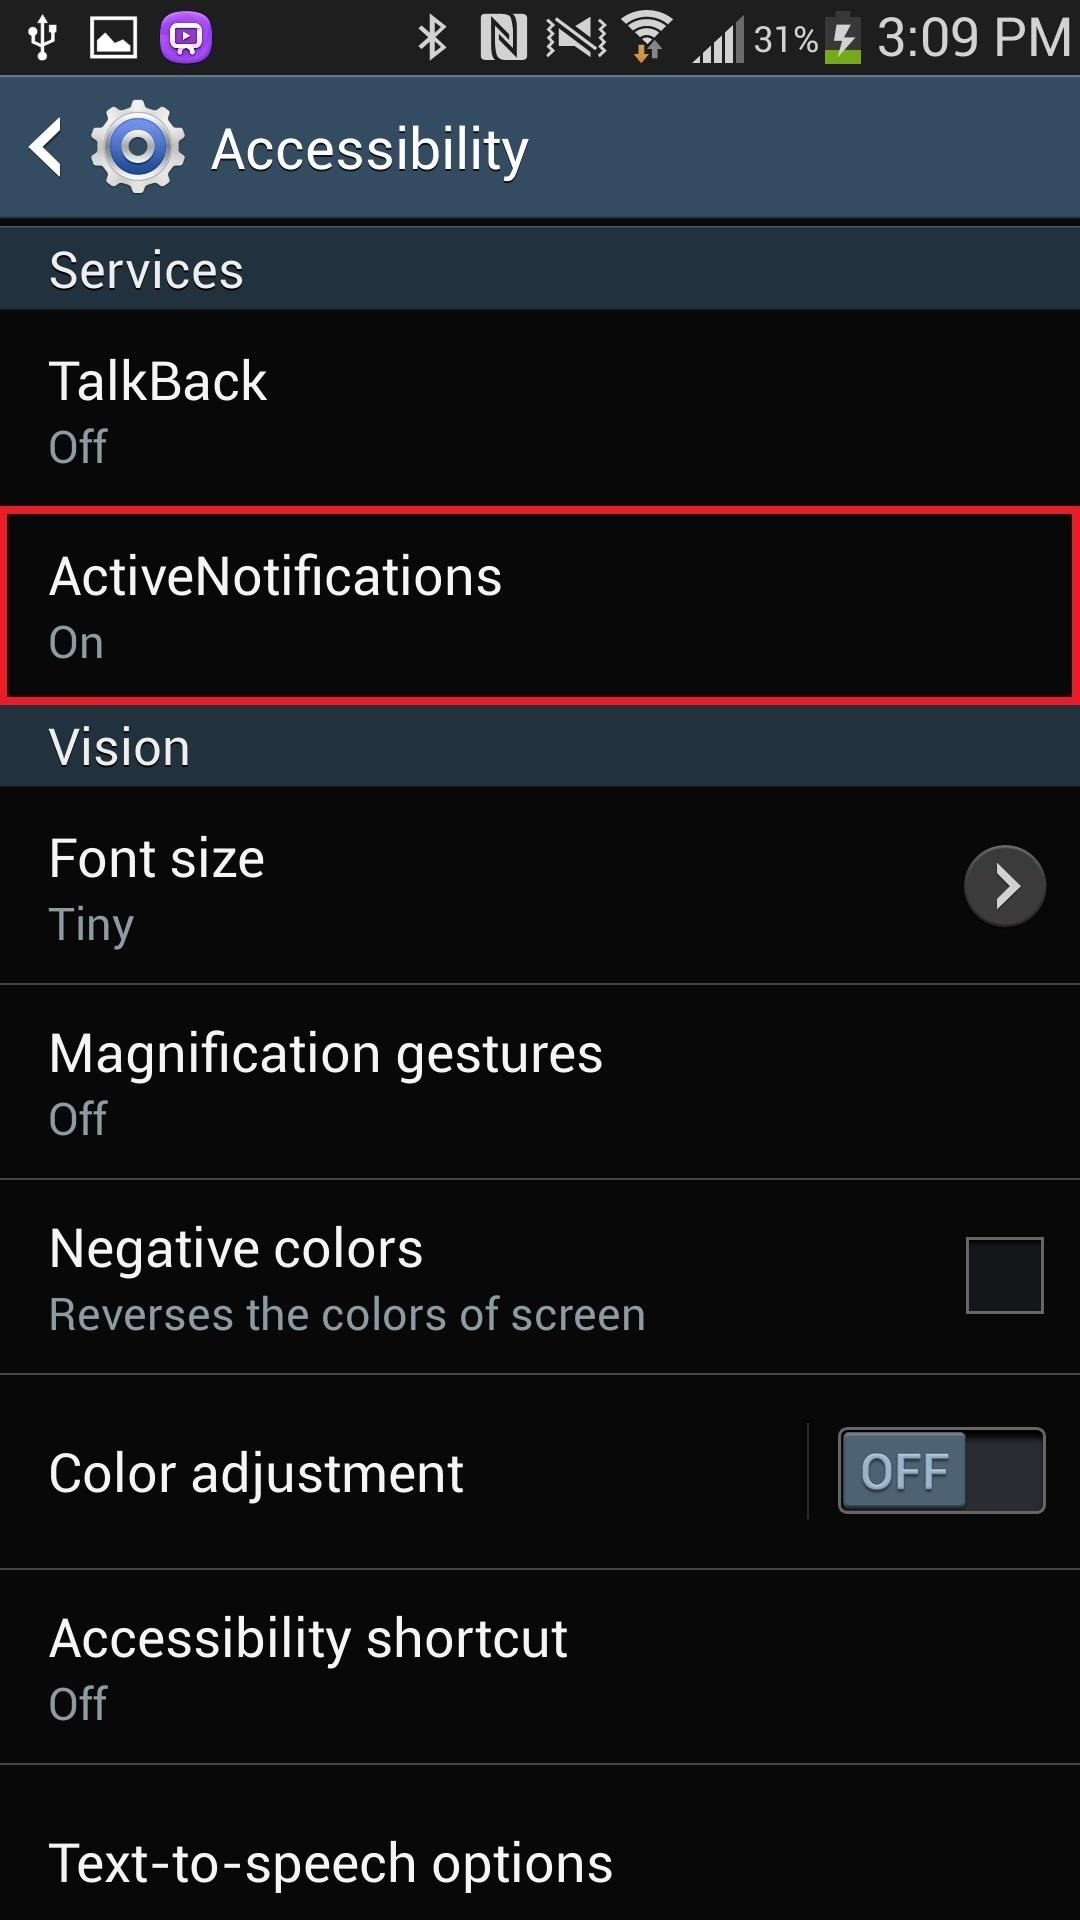
Step 2: Allow It Access
Once you open the app, it'll ask you to allow accessibility access. If it doesn't automatically take you to Accessibility, head over to Settings -> My device -> Accessibility and make sure that ActiveNotifications is turned ON under Services.
Step 3: Choosing What Notifications You Want
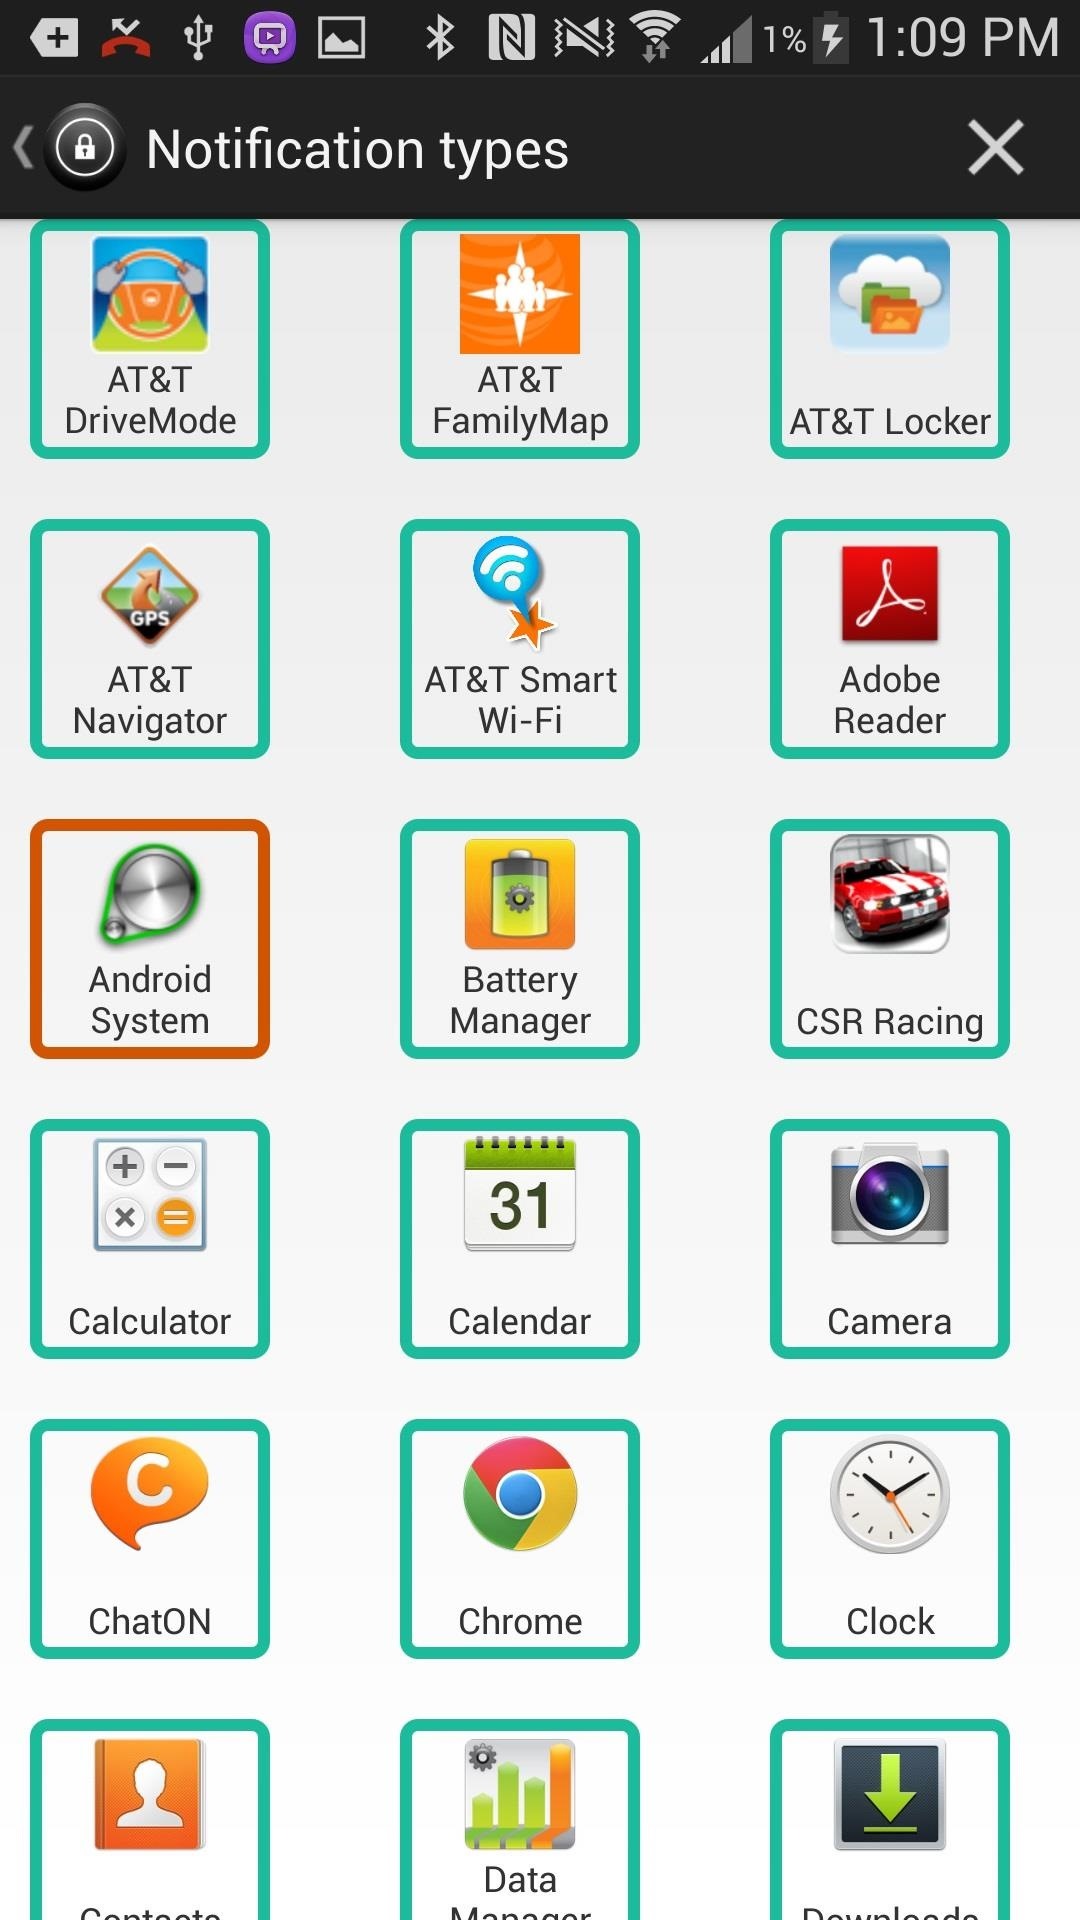
From ActiveNotifications, you can manage which apps you want to receive notifications from. The list shows all of the apps on your device; if you want to receive a notification, leave it green. If not, tap on it to turn the border around the icon red.
Step 4: Receive Notifications
Now that you're done with managing the notifications, send yourself a text message or email (or just wait until you receive one) to test it out.
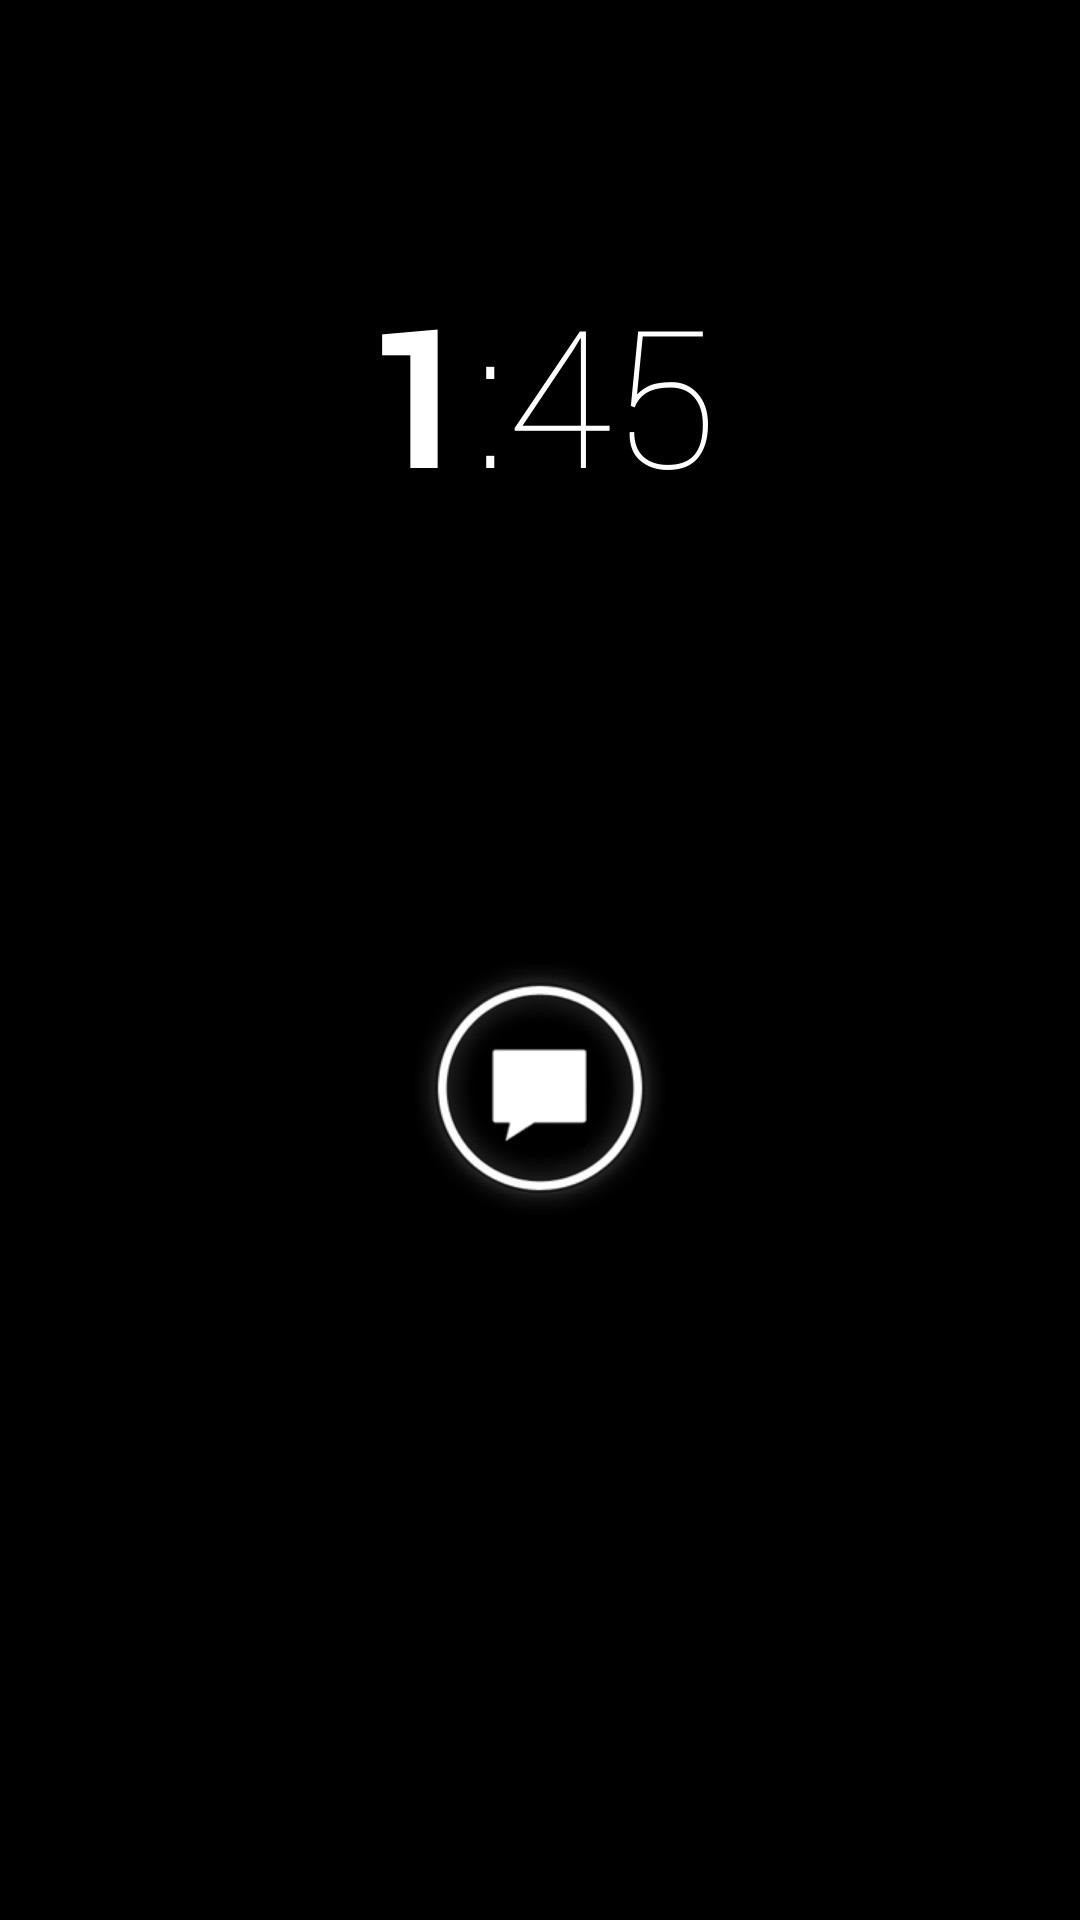
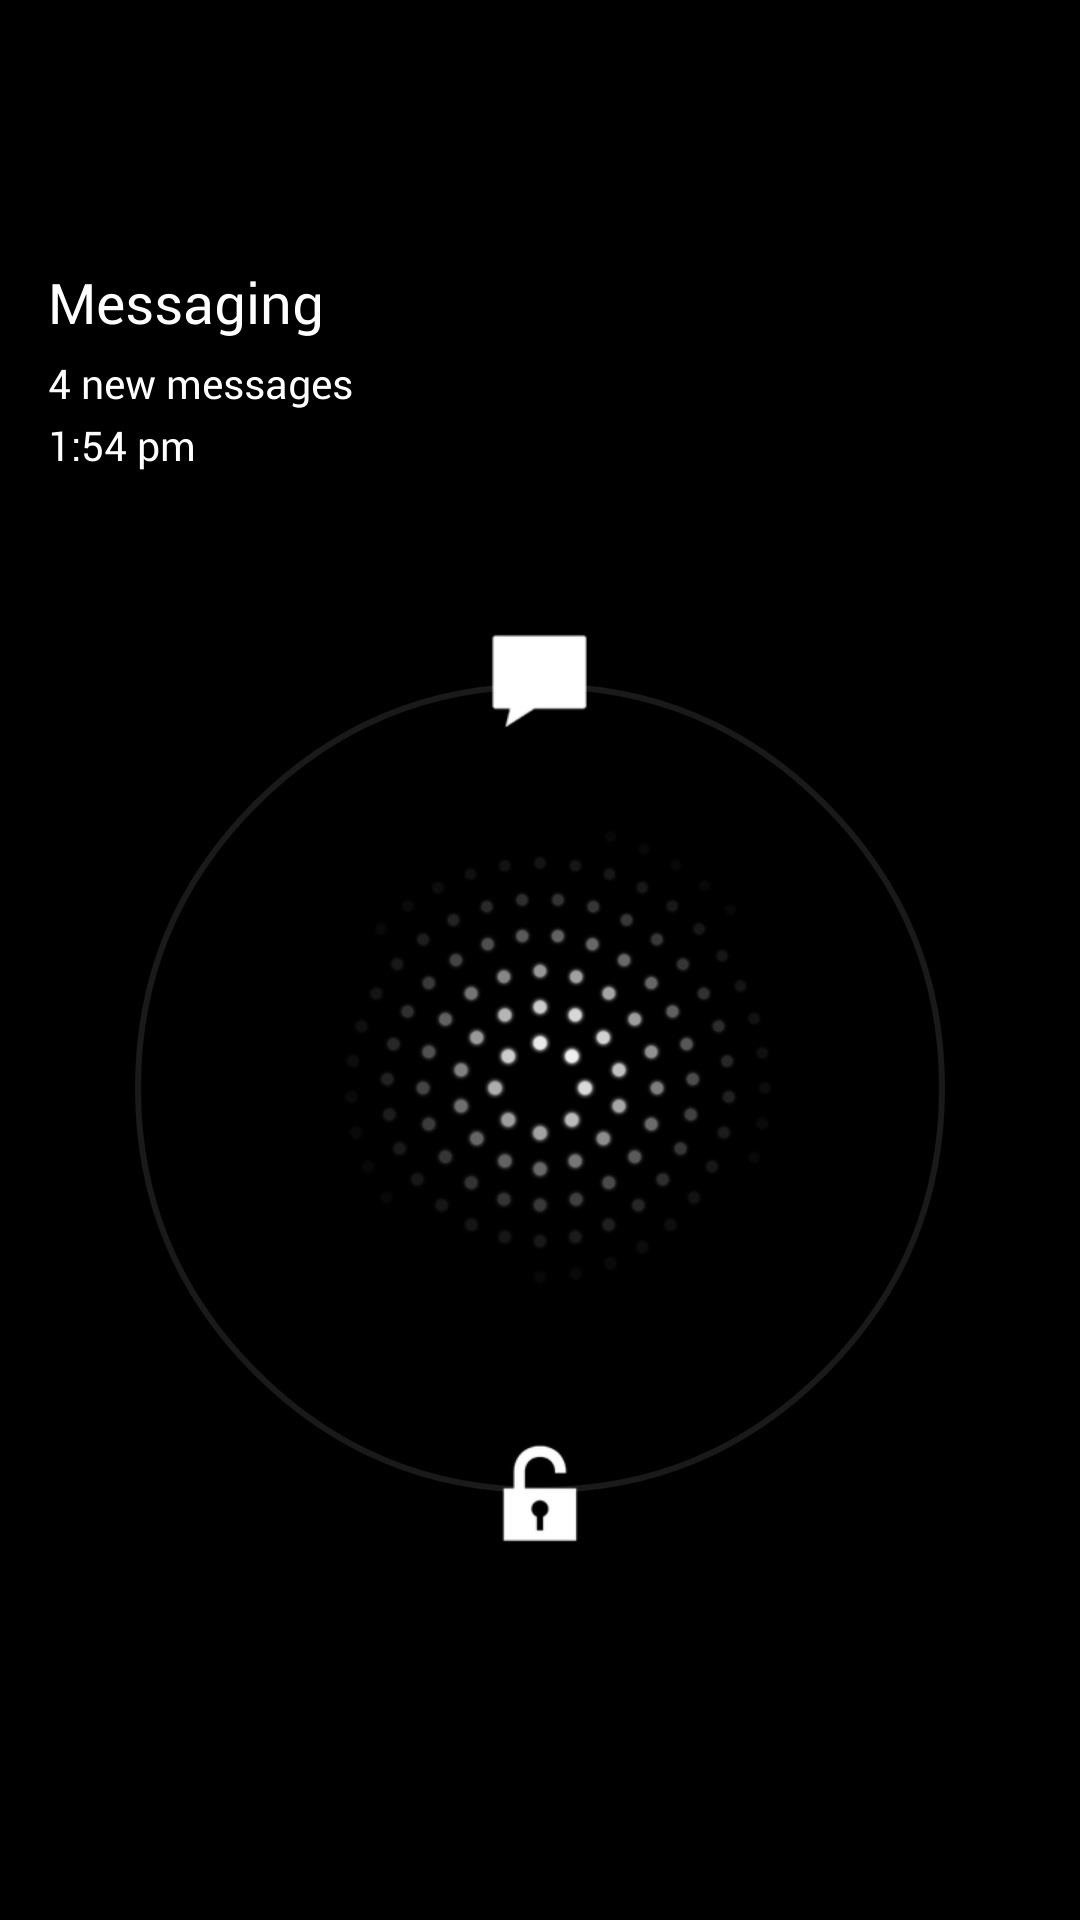
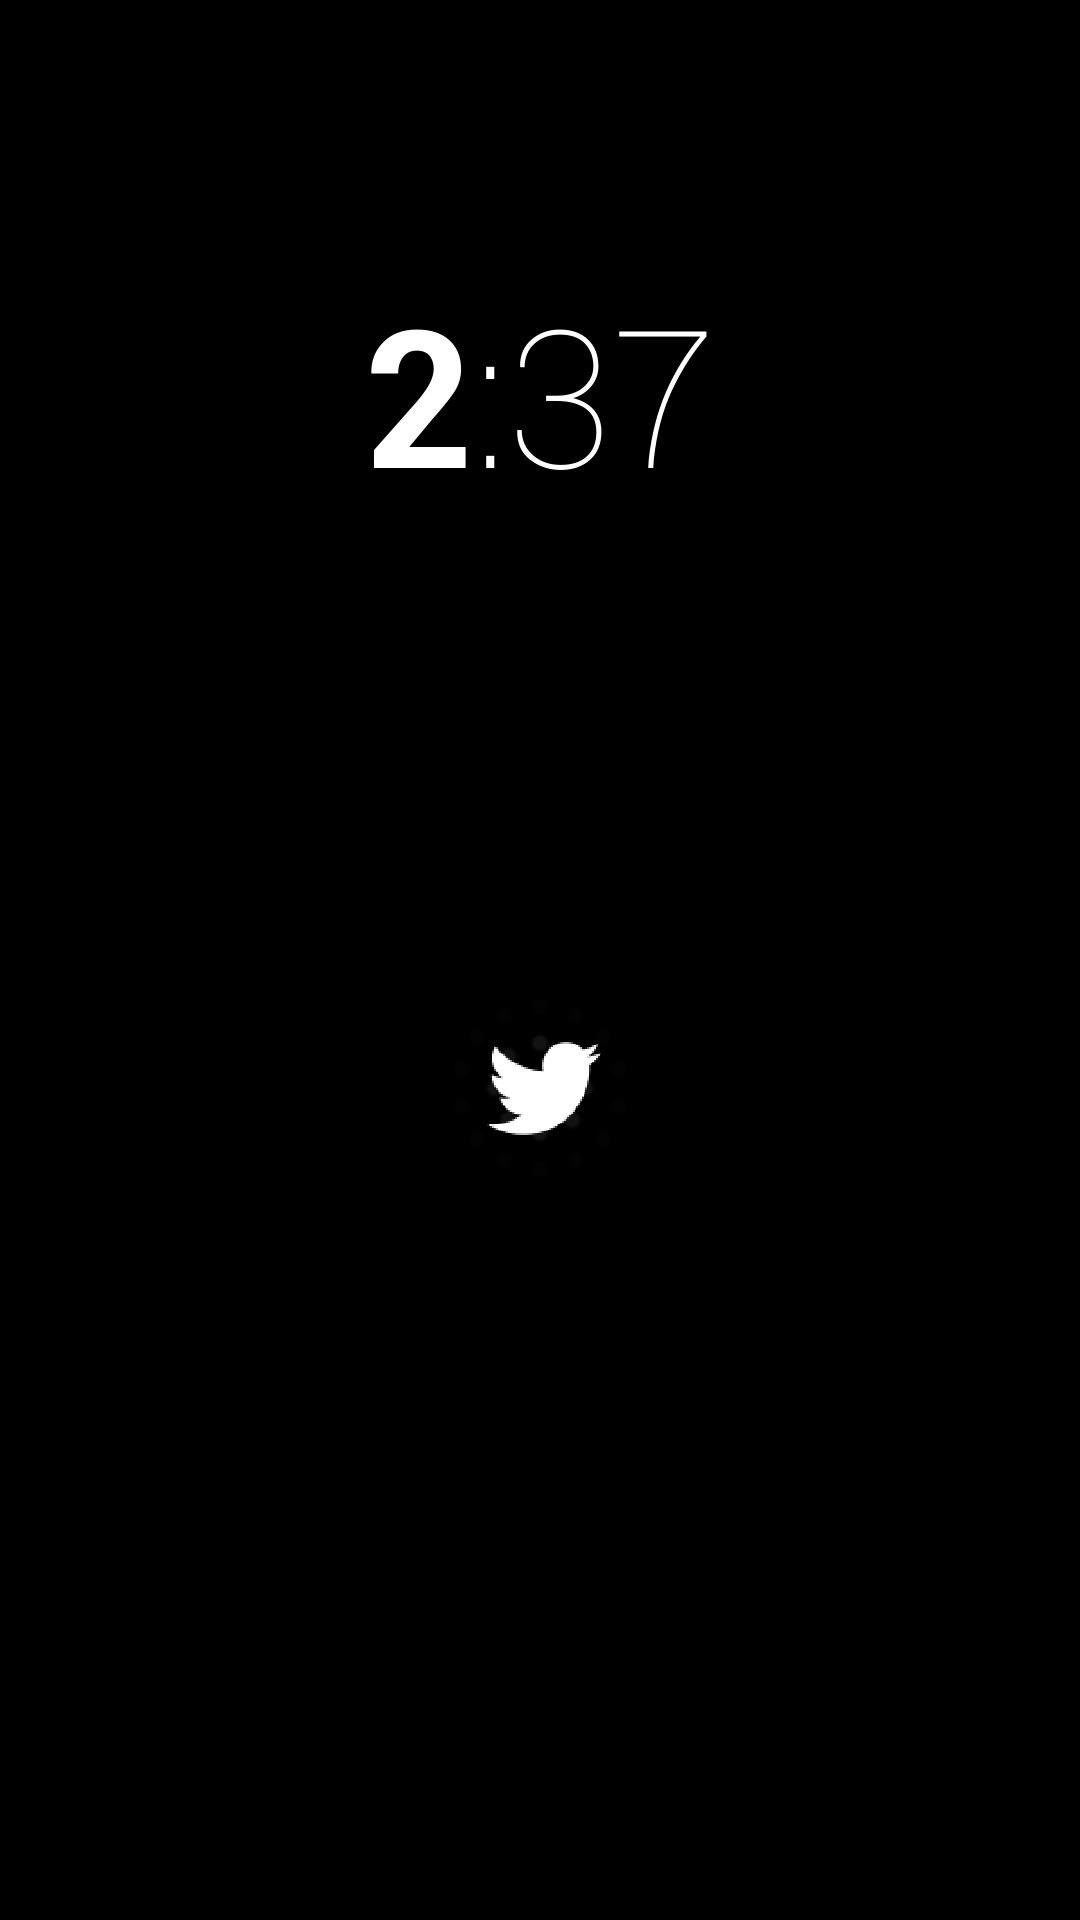
I sent myself several text messages (because I have no friends) and watched the screen discreetly turn on. The green LED then flashes slowly when the screen turns dark again. If you want to check your message, swipe up on the text message icon. If the text is worth opening, you can swipe down, which turns on your device fully and takes you to the proper application.
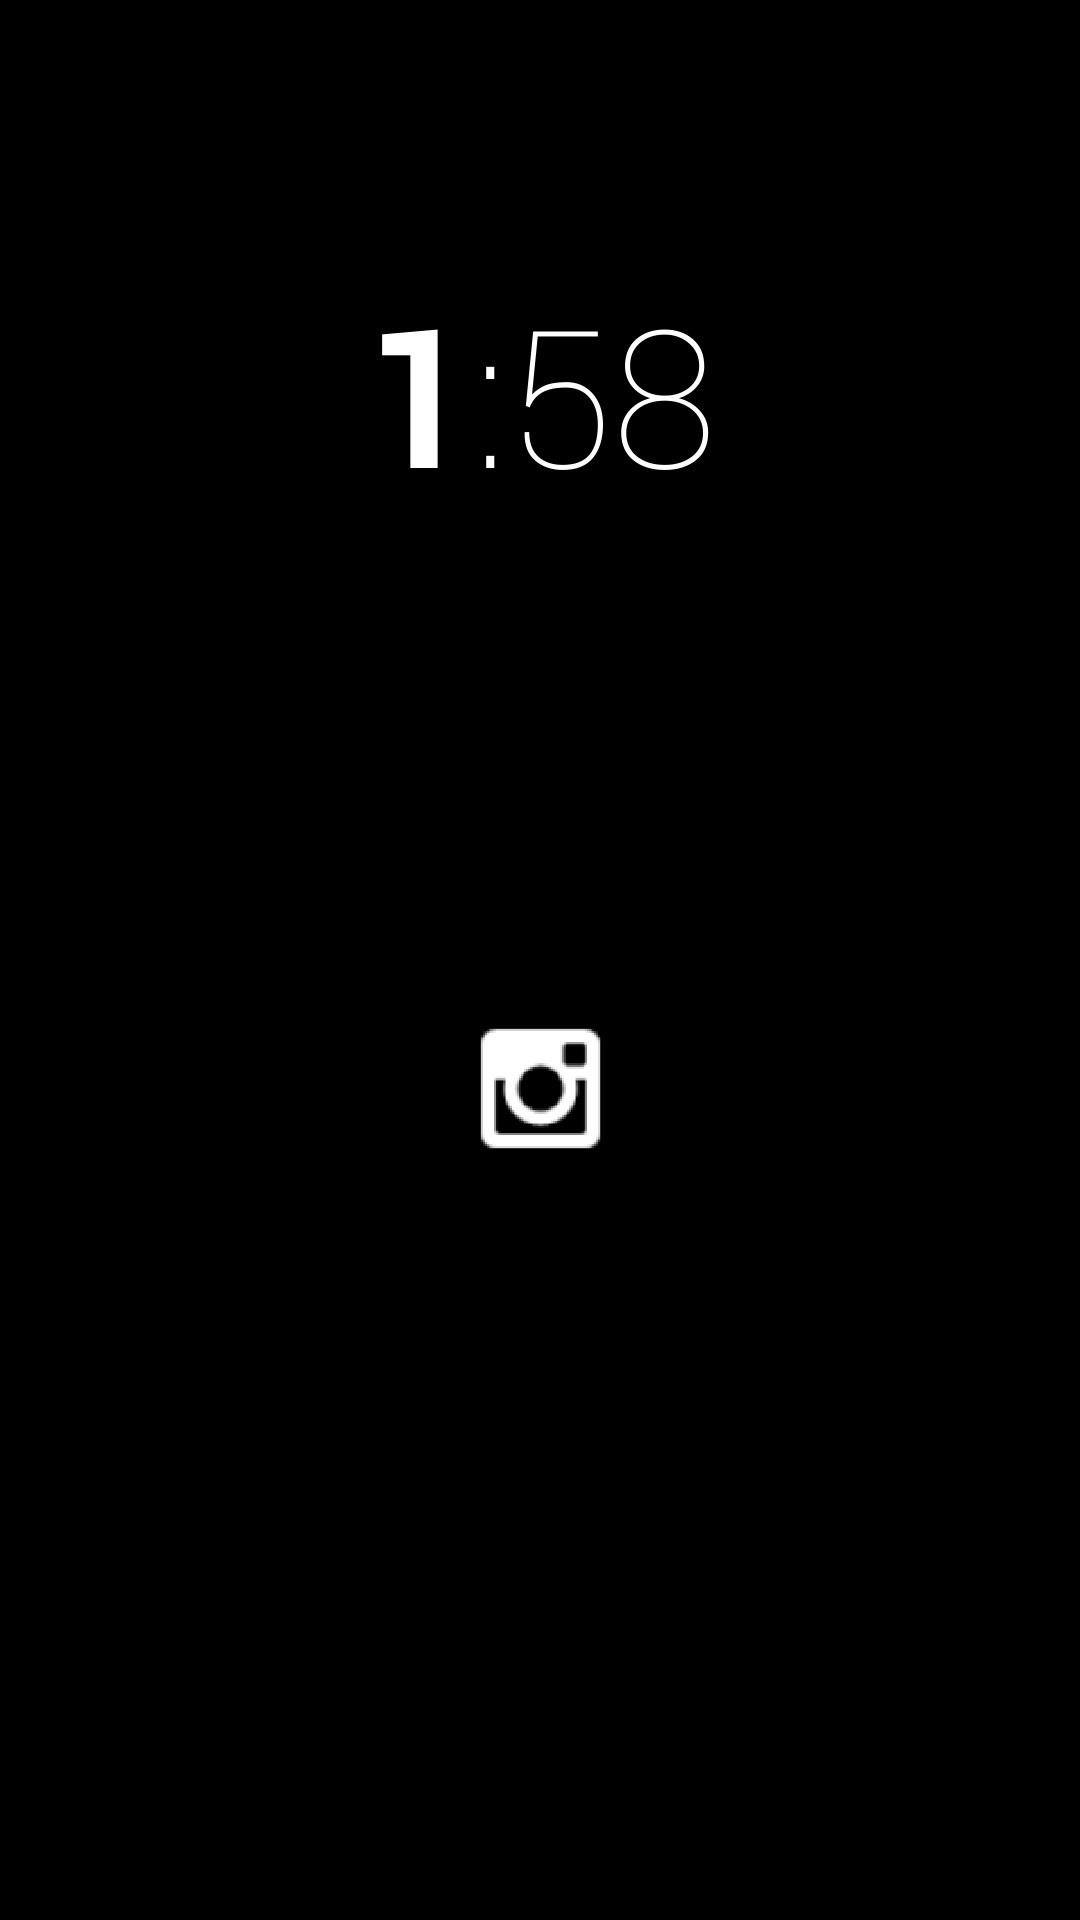
I also tested out the application with Instagram and Twitter alerts. It worked well and I was impressed with the design as well, which has a very bare and minimalist, yet sleek look.
Also noteworthy is that notifications won't light up when your phone is in your pocket, purse, or face down in the case of accidental unlocks.
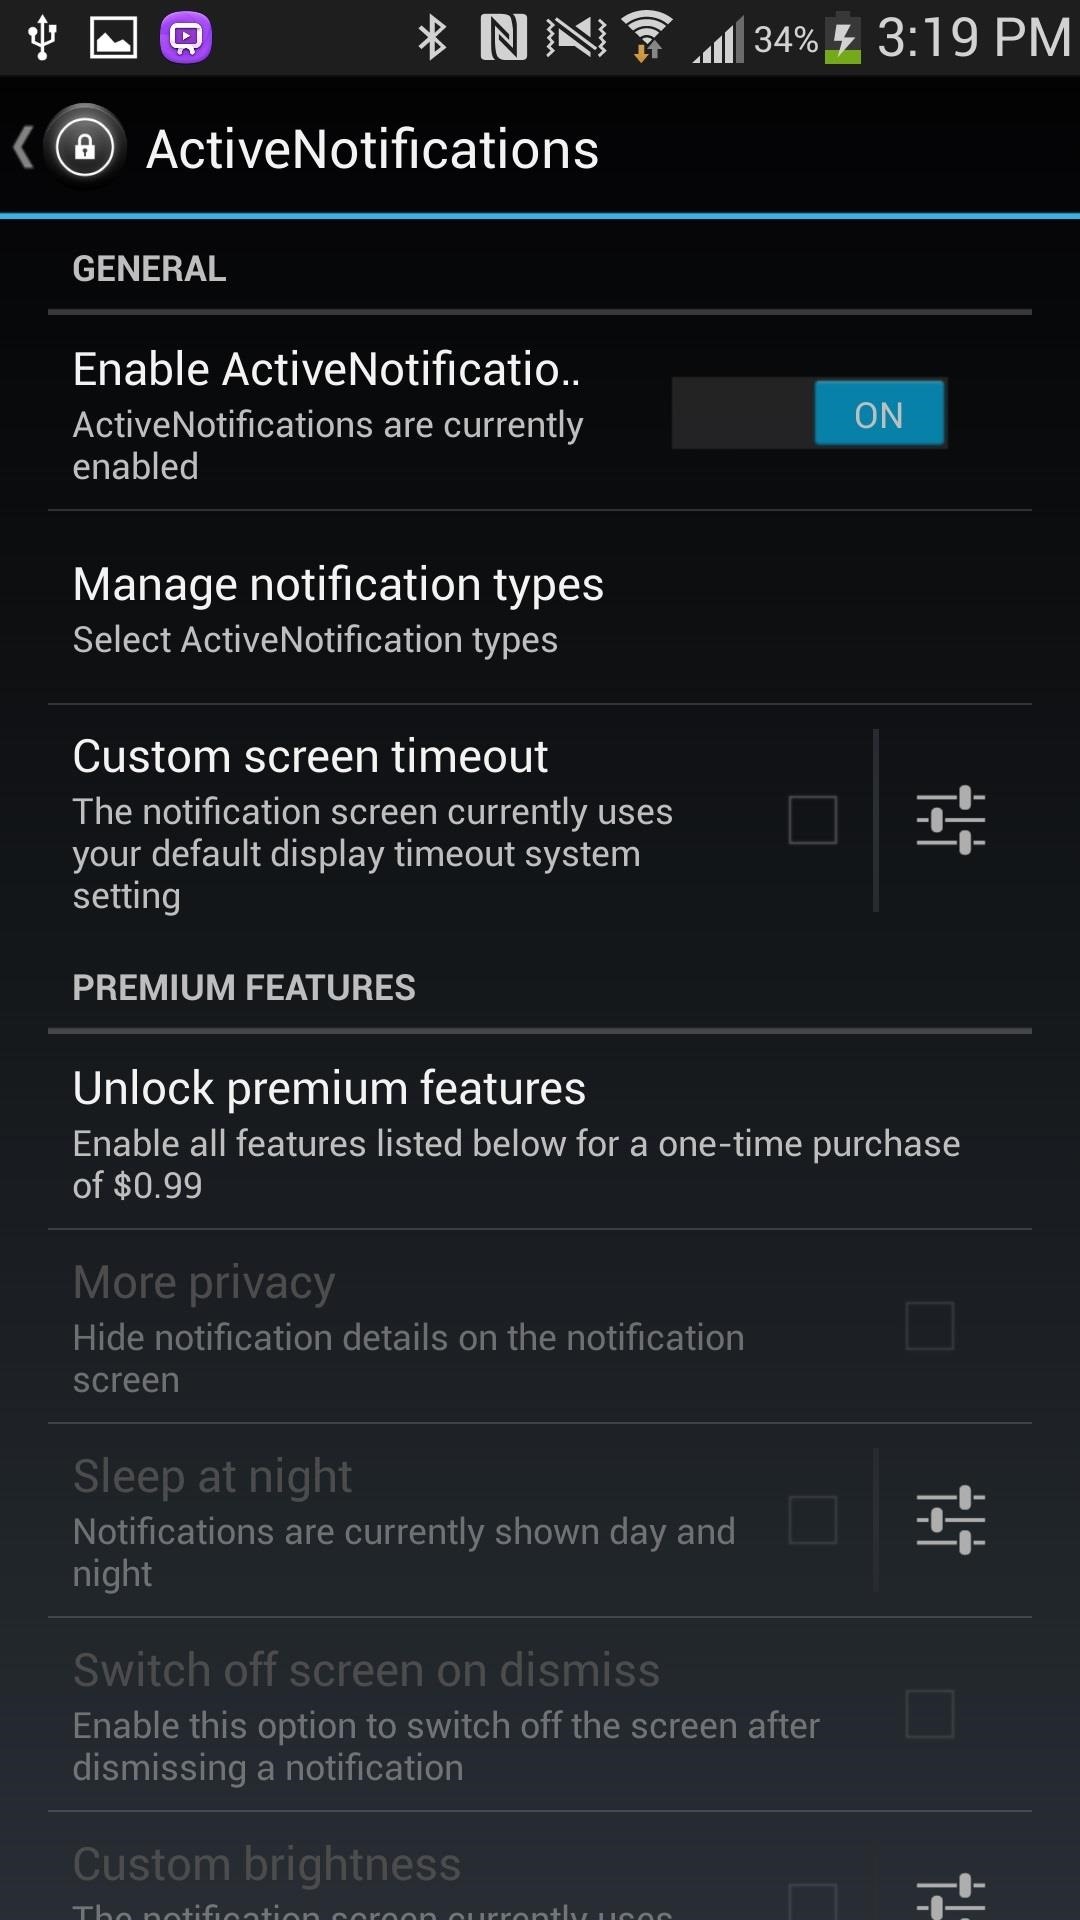
Free vs. Premium Version
If you enjoy the free version, but want more, you can shell out a dollar (in-app purchase) to access all the premium features, which include the following.
- Sleep at Night - Notifications stop at night.
- More Privacy - Hide notification details (like SMS sender).
- Adjust Screen Brightness - Allows you to select the brightness of ActiveNotifications.
You can also automatically switch off the screen when you dismiss any notification (by swiping the notification icon either left or right).
Just updated your iPhone? You'll find new emoji, enhanced security, podcast transcripts, Apple Cash virtual numbers, and other useful features. There are even new additions hidden within Safari. Find out what's new and changed on your iPhone with the iOS 17.4 update.


Be the First to Comment
Share Your Thoughts